You will need…


Enter the search term and press "ENTER" .
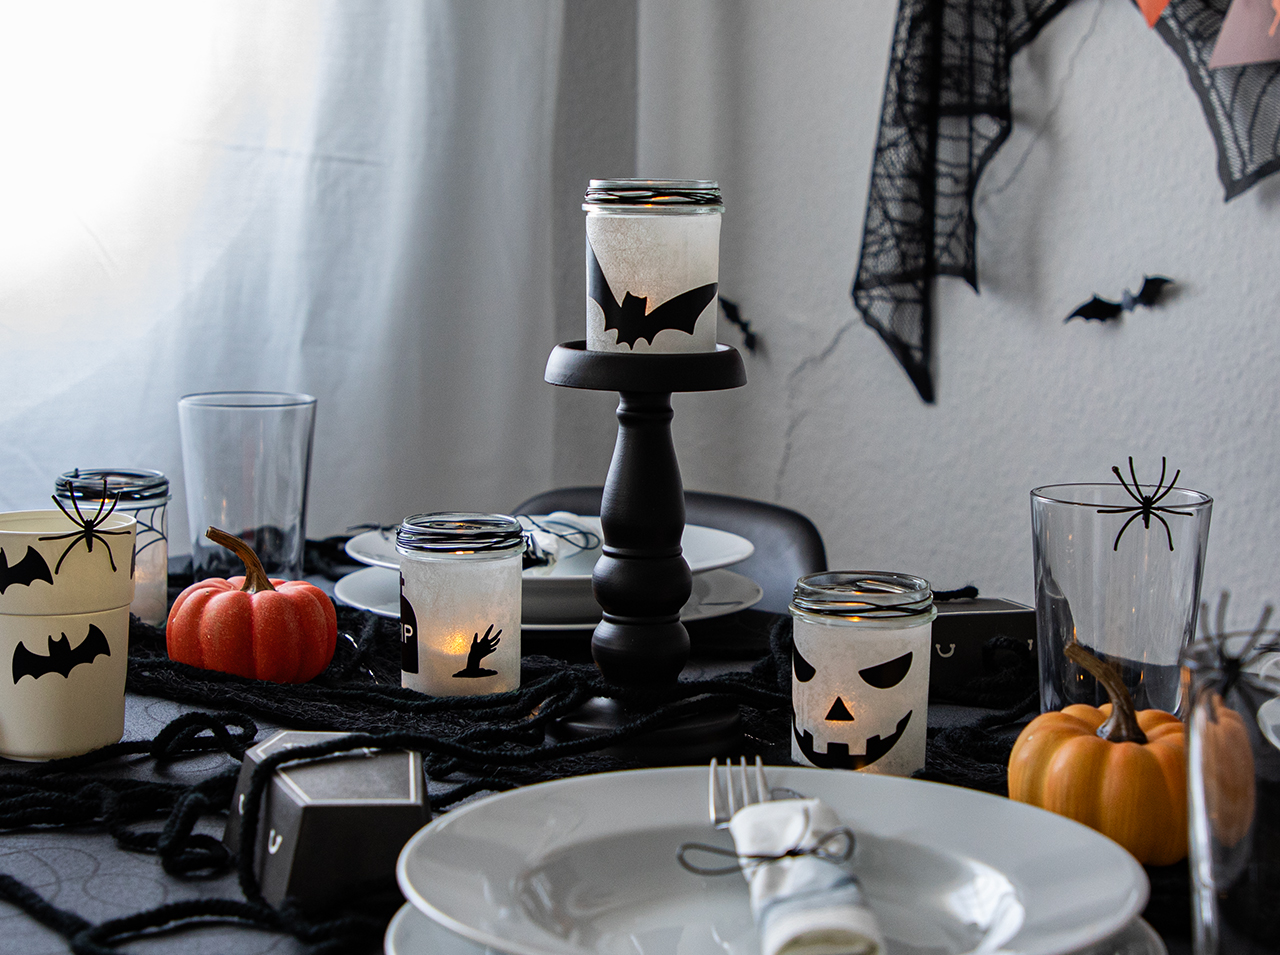
Hello Halloween! These DIY light jars create an eerily beautiful mood
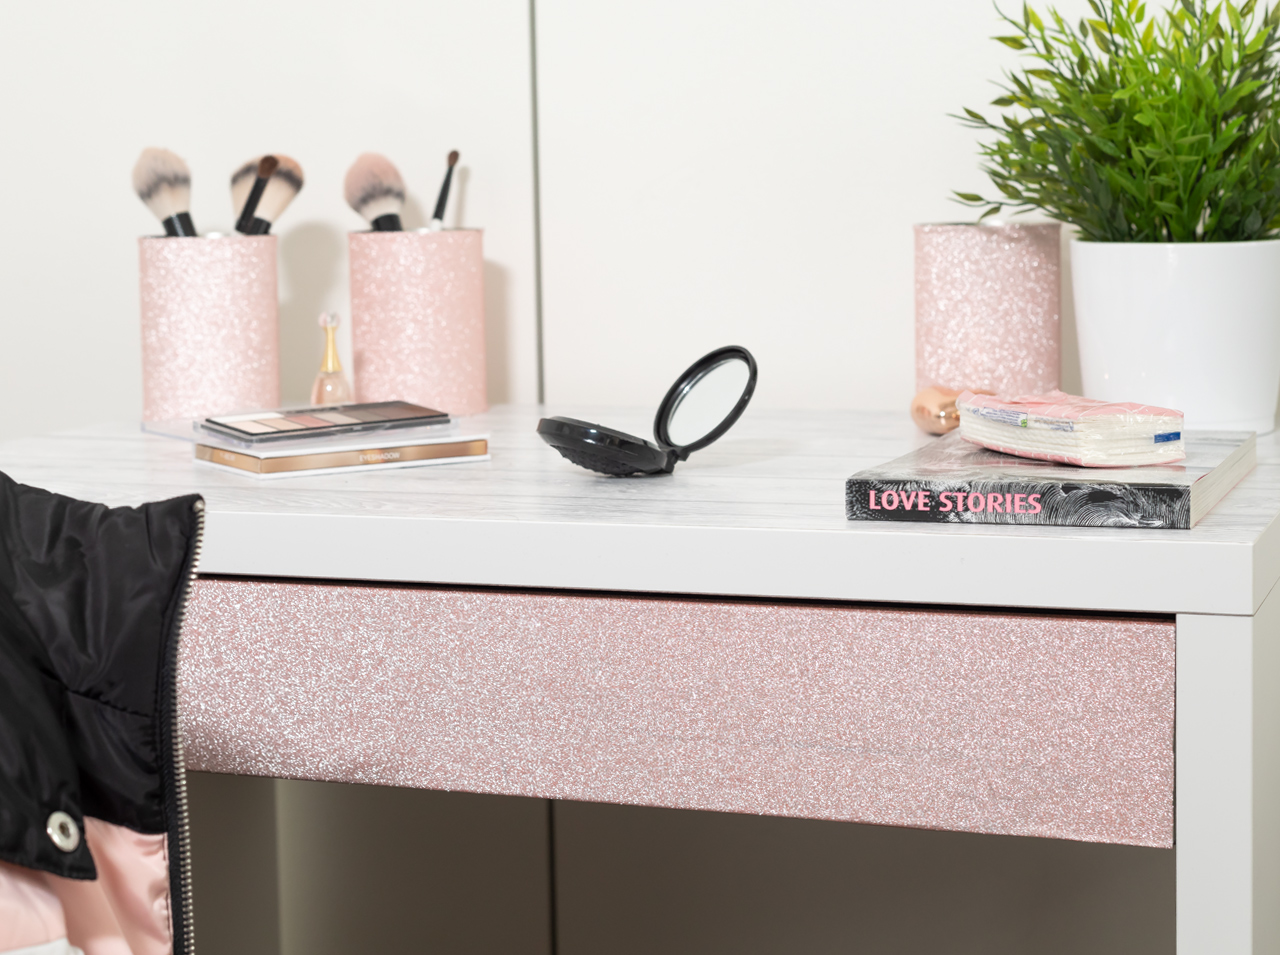
Project from Cintia - 0 CommentsWhether the kitchen is large or small, it’s important to always have an overview when cooking and preparing food. Especially when it comes to kitchen supplies. You can store supplies sustainably, safely and beautifully in transparent jars with lids. The highlight: the labels of the jars are cut to the desired size from black d-c-fix® board foil – and then inscribed with a white chalk pen. If you have a plotter at hand, you can also produce or plot the lettering in the “Uni Matt black” adhesive foil. Both versions are super stylish and look great on an open kitchen shelf!
- d-c-fix® rice paper white PREMIUM adhesive foil
- d-c-fix® Uni Matt black adhesive foil
- d-c-fix® application kit with smoothing blade & utility knife
- Spray bottle with water
- Measuring tape
- Pencil
- Ruler
- Cloth
- Jars
- Tea lights (battery operated)
Let’s go!
Start your DIY now – the tutorial shows you how, step-by-step
 Preparation
You have everything you need? Then get started!
 Step 1
Measure the circumference and height of the jar with the tape measure. Then transfer these measurements to the back of the rice paper window foil.
 Step 2
Cut the piece of foil to size with the aid of a utility knife and ruler. Then spray the jar with water.
 Step 3
Peel off the backing paper from the entire piece of full.
 Step 4
Place the piece of foil on the table with the back side facing up, place the jar on top and apply the foil by rolling the jar on the window foil. Then turn the glass upright and apply the foil firmly using the smoothing blade.
 Step 5
Next, take the matt black adhesive foil, roll it up slightly and draw Halloween motifs onto the backing paper.
 Step 6
Cut out the motifs from the foil using the utility knife.
 Step 7
Remove the motif from the foil, peel off the backing paper and apply the motif onto the jar.
You’re done!


Post A Comment
EXPERT ADVICE
Small air pockets can form, especially when covering larger surfaces – such as the top and side surfaces here. You can puncture these bubbles with a fine needle and then carefully smooth them out with the squeegee.
Preparation time
10 min
Execution
15 min
Difficulty level
Easy
Costs
Low
No Comments