You will need…


Enter the search term and press "ENTER" .
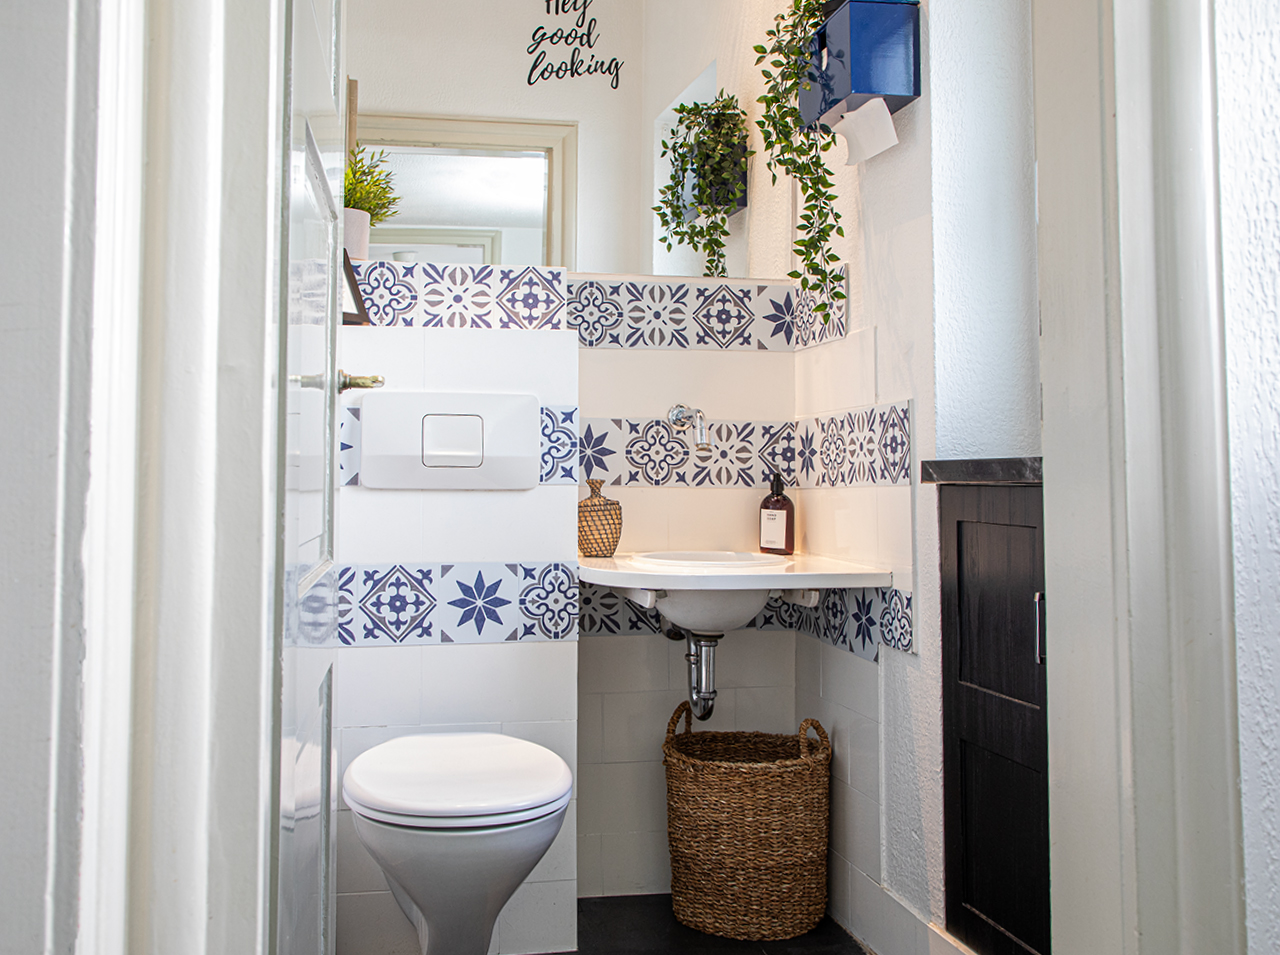
Let’s keep it stylish: a makeover for the guest bathroom
Project from Alex - 0 CommentsWhen it comes to furnishing or renovating the home, it’s the living room or bedroom that usually springs to mind first. This is mainly because transforming a kitchen or bathroom is often quite expensive and requires specialist knowledge. This is where the self-adhesive wall tiles from d-c-fix®, the SA Wall Tiles, can help. This is because they’re easy to work with, inexpensive and can still provide a completely new living experience. The small-format Wall Tiles create particularly attractive accents. The designs are all color-coordinated so that different designs can be combined easily according to taste in keeping with the buzzword “mix and match!” Click here for the guest bathroom makeover tutorial!
- d-c-fix® SA Wall tiles Alia blue
- d-c-fix® SA Wall tiles Cubia blue
- d-c-fix® SA Wall tiles Nadia blue
- d-c-fix® SA Wall tiles Jamila blue
- d-c-fix® application kit with smoothing blade and utility knife
- Pencil
- Folding ruler
- Ruler
- Cloth
Let’s go!
So here’s the tutorial to follow!
 Preparation
You have everything you need? Then get started!
 Step 1
Clean the surface with a cloth.
 Step 2
To determine the right number of Wall Tiles, measure the area with a folding ruler.
 Step 3
If Wall Tiles don’t fit perfectly, they can easily be cut to size with a utility knife. To do this, measure the missing piece, transfer the dimensions to the front of the Wall Tiles using a pencil and cut along a ruler.
 Step 4
Remove the backing paper from the Wall Tiles to attach them to the wall.
 Step 5
Position the Wall Tiles wherever you wish and press them firmly into place.
You’re done!


Post A Comment
EXPERT ADVICE
Small air pockets can form, especially when covering larger surfaces – such as the top and side surfaces here. You can puncture these bubbles with a fine needle and then carefully smooth them out with the squeegee.
Preparation time
10 min
Execution
60 min
Difficulty level
Advanced
Costs
Higher
No Comments