You will need…


Enter the search term and press "ENTER" .
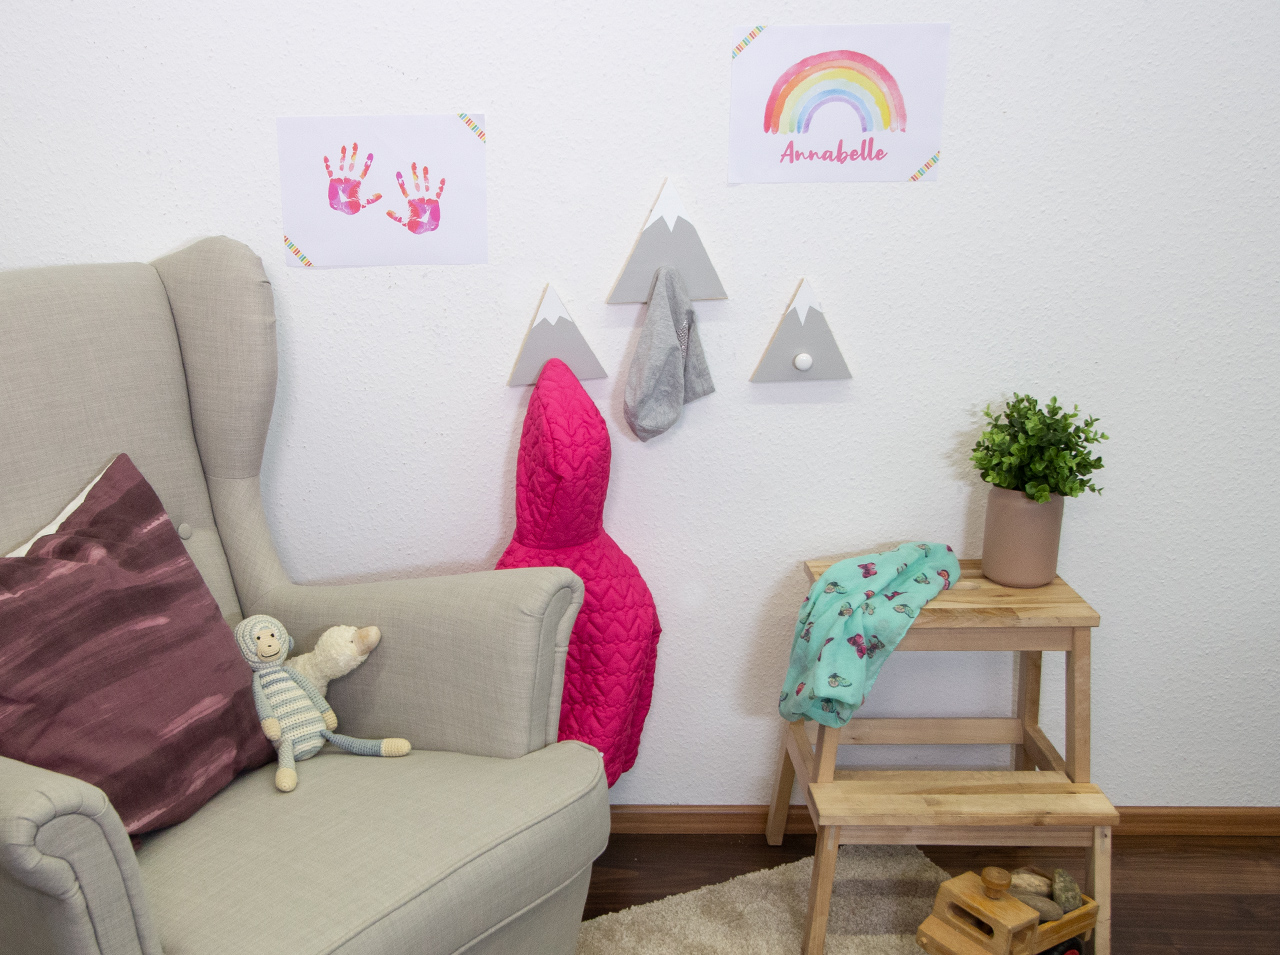
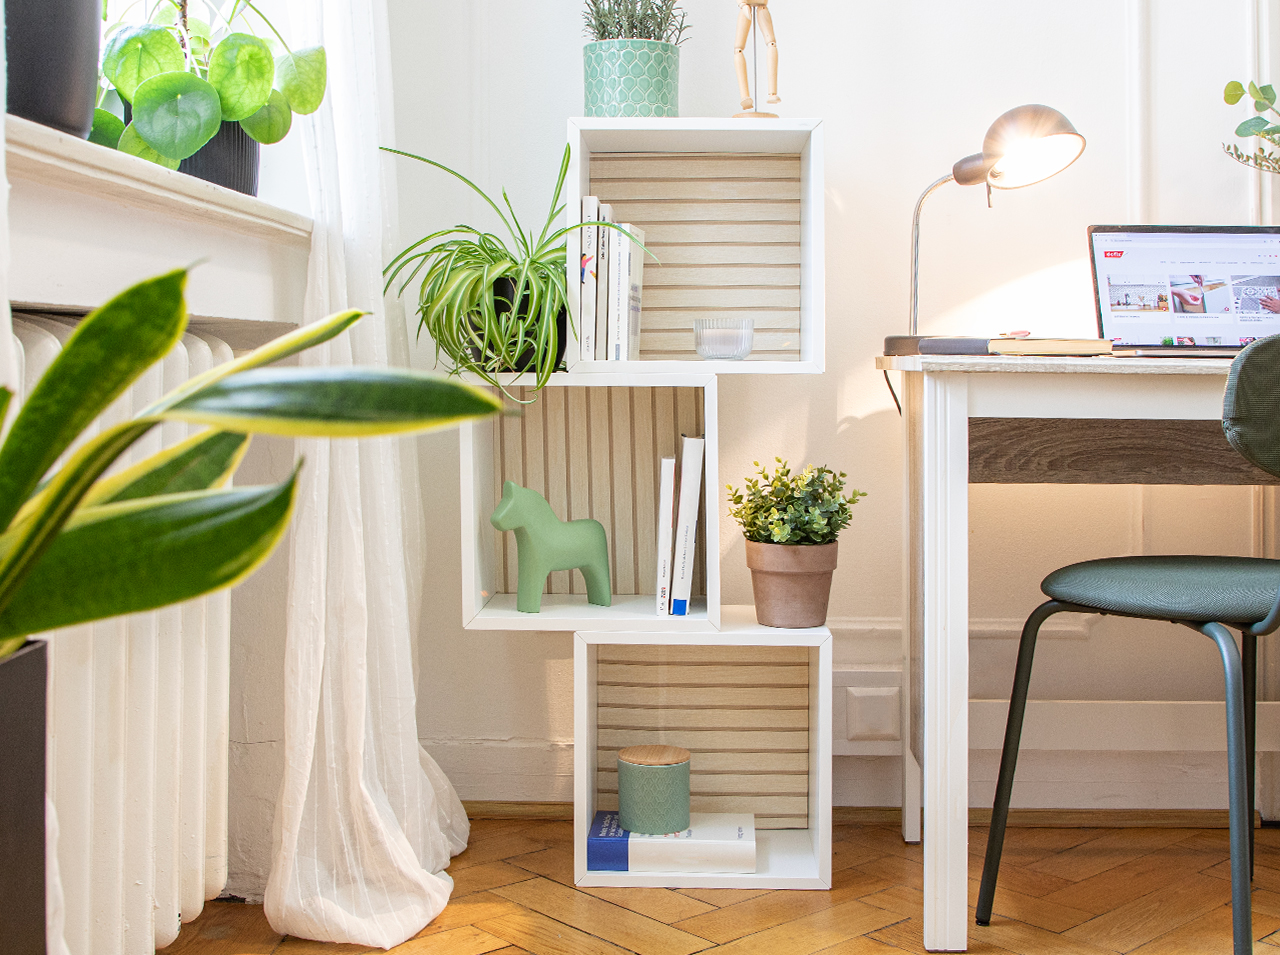
A coat rack for your child’s room
Project from Antonia - 0 CommentsA simple, Nordic chic design also has its place in kids’ rooms. We have transformed small mountains into coat racks so that your little adventurers can keep their room tidy in style.
Project description for your DIY coat rack
- A roll of plain paint d-c-fix®, light grey
- A roll of plain paint d-c-fix®, white
- A d-c-fix® application kit containing a smoother and a cutting knife
- A wood saw
- Sandpaper
- A wooden board
- White wooden knobs
- A drill
- Screws
- Scissors
- A pencil
Let’s go
 Step 1
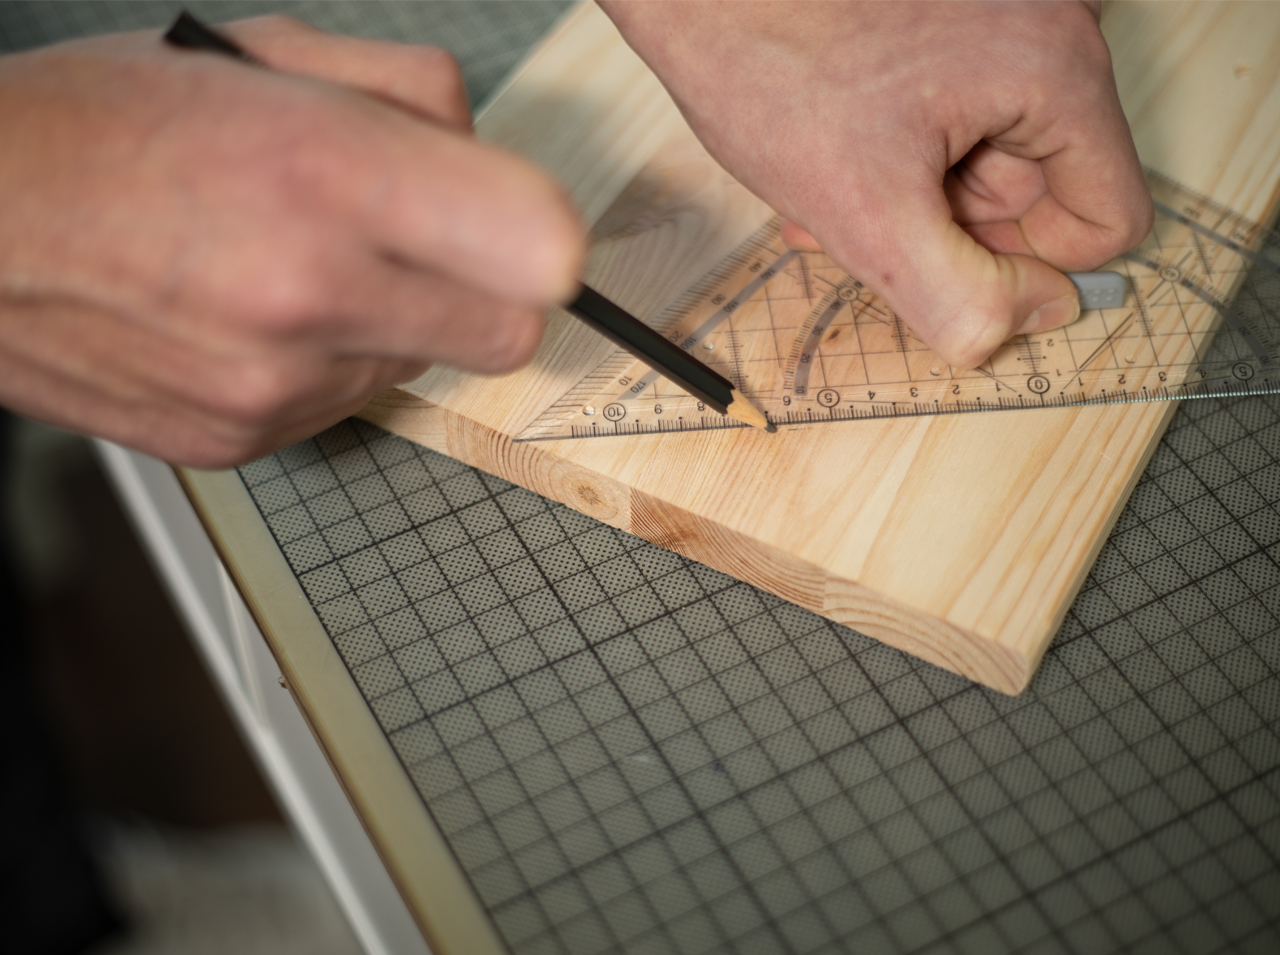
Use a pencil to draw several triangles on the wooden board.
 Step 2
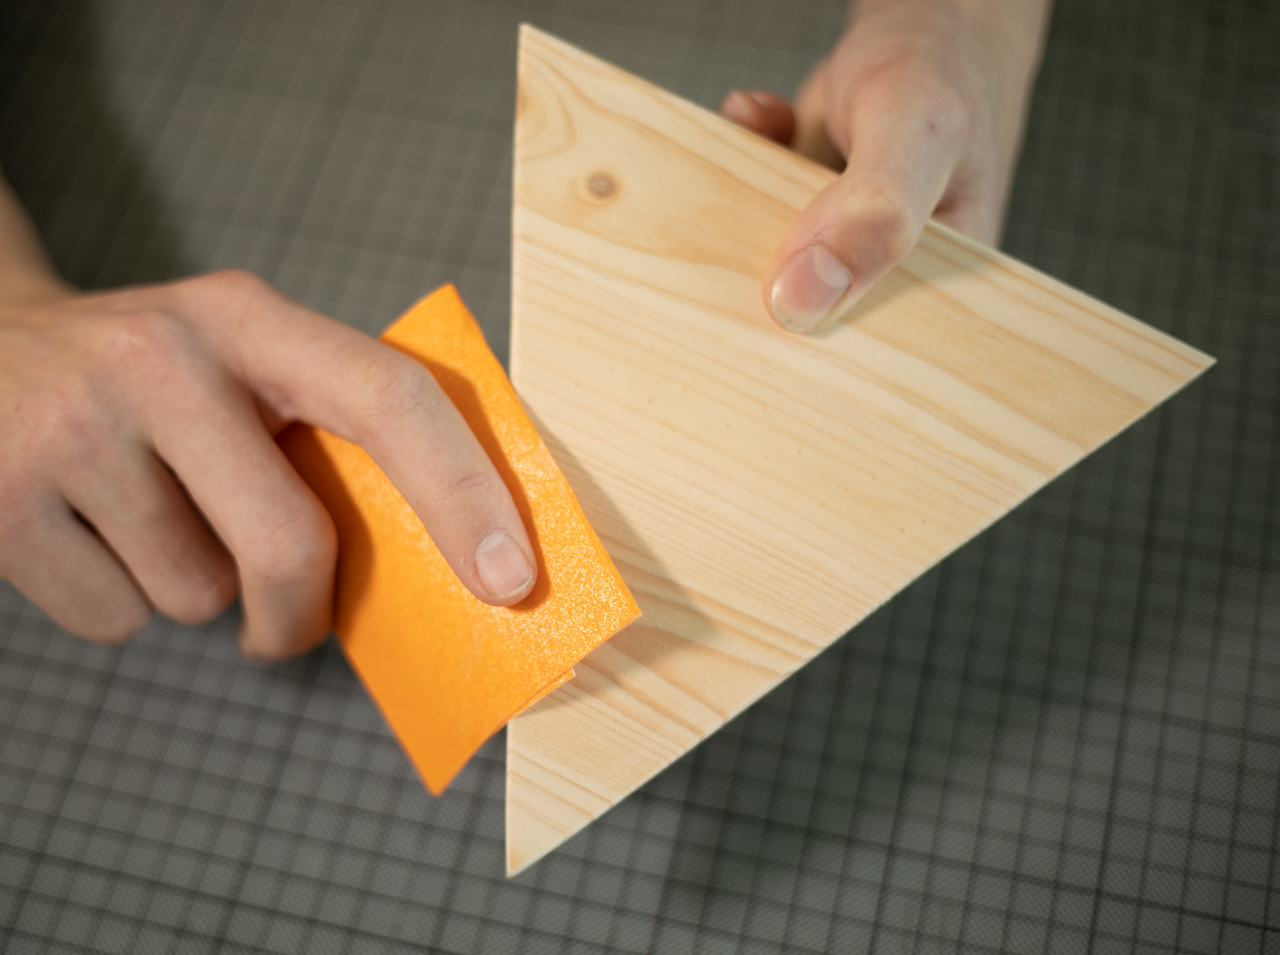
Saw out the triangles with a wood saw and sand the edges with sandpaper.
 Step 3
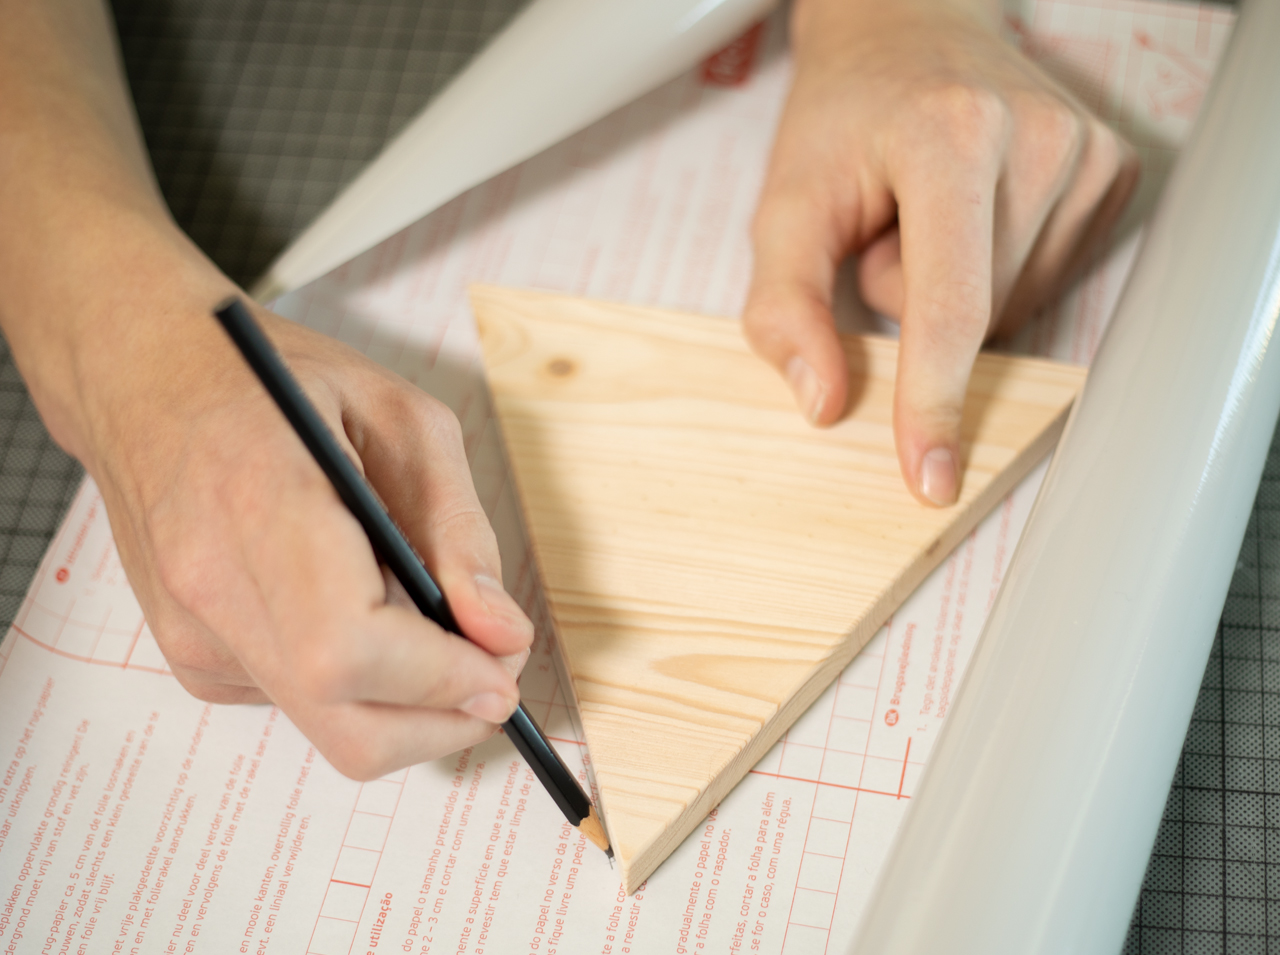
Copy the contours of the mountains onto the backing paper of the decorative film, leaving out the summits, which should have jagged edges pointing downward.
 Step 4
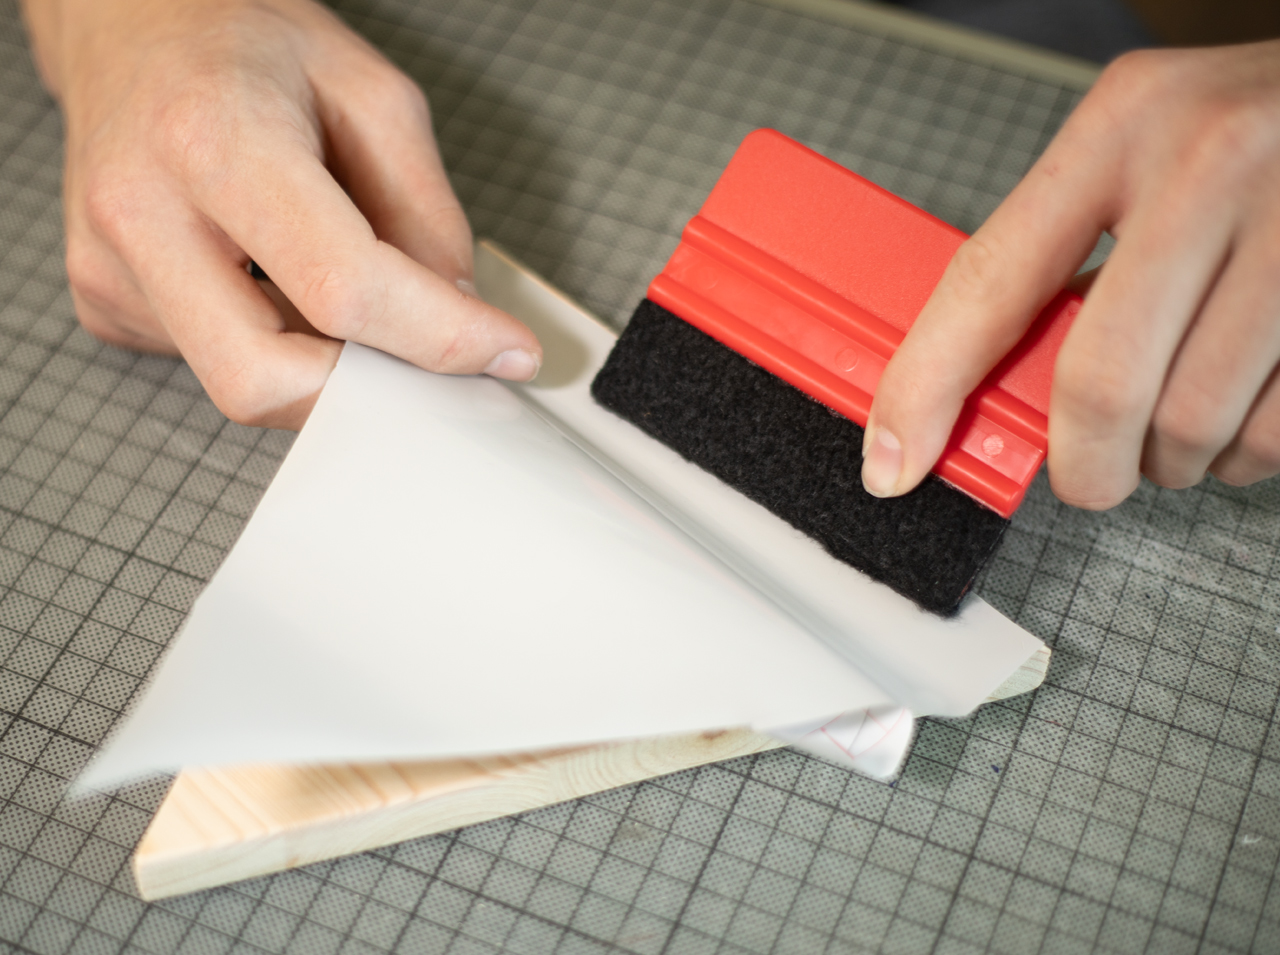
Cut out the mountains, remove a piece of the backing paper and start sticking the film on.
 Step 5
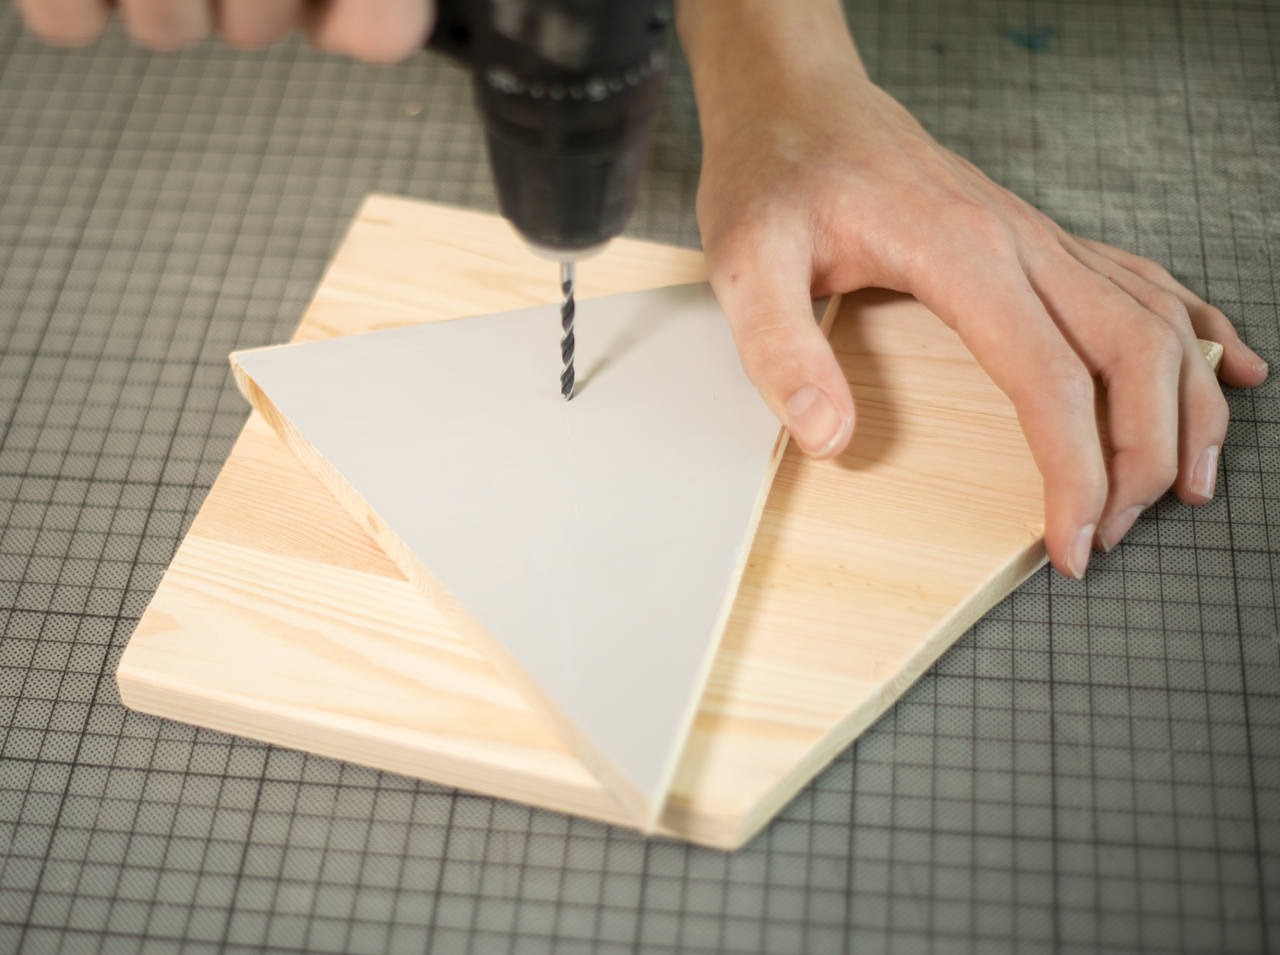
Use the pencil to mark a point in the middle of the lower third through which you will drill a hole from the front.
 Step 6
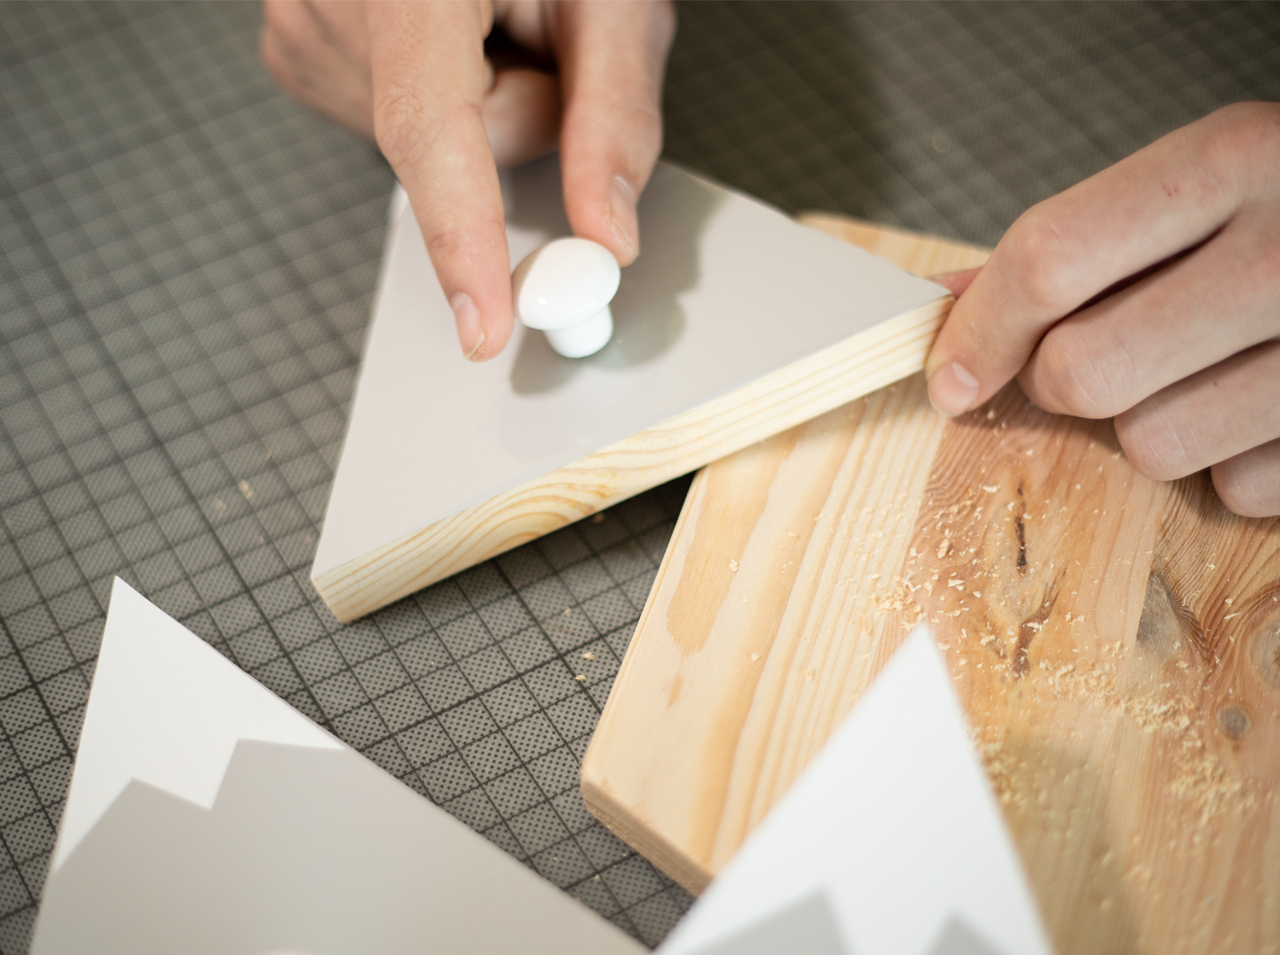
Screw the knob on and hang the coat rack on the wall.
You’re done!

Post A Comment
EXPERT ADVICE
Drill a small notch in the wood from behind so that you can fix the mountains to the wall with a hook or nail.
Preparation time
15 min
Execution
15 min
Difficulty level
beginner
Costs
low
No Comments