You will need…


Enter the search term and press "ENTER" .
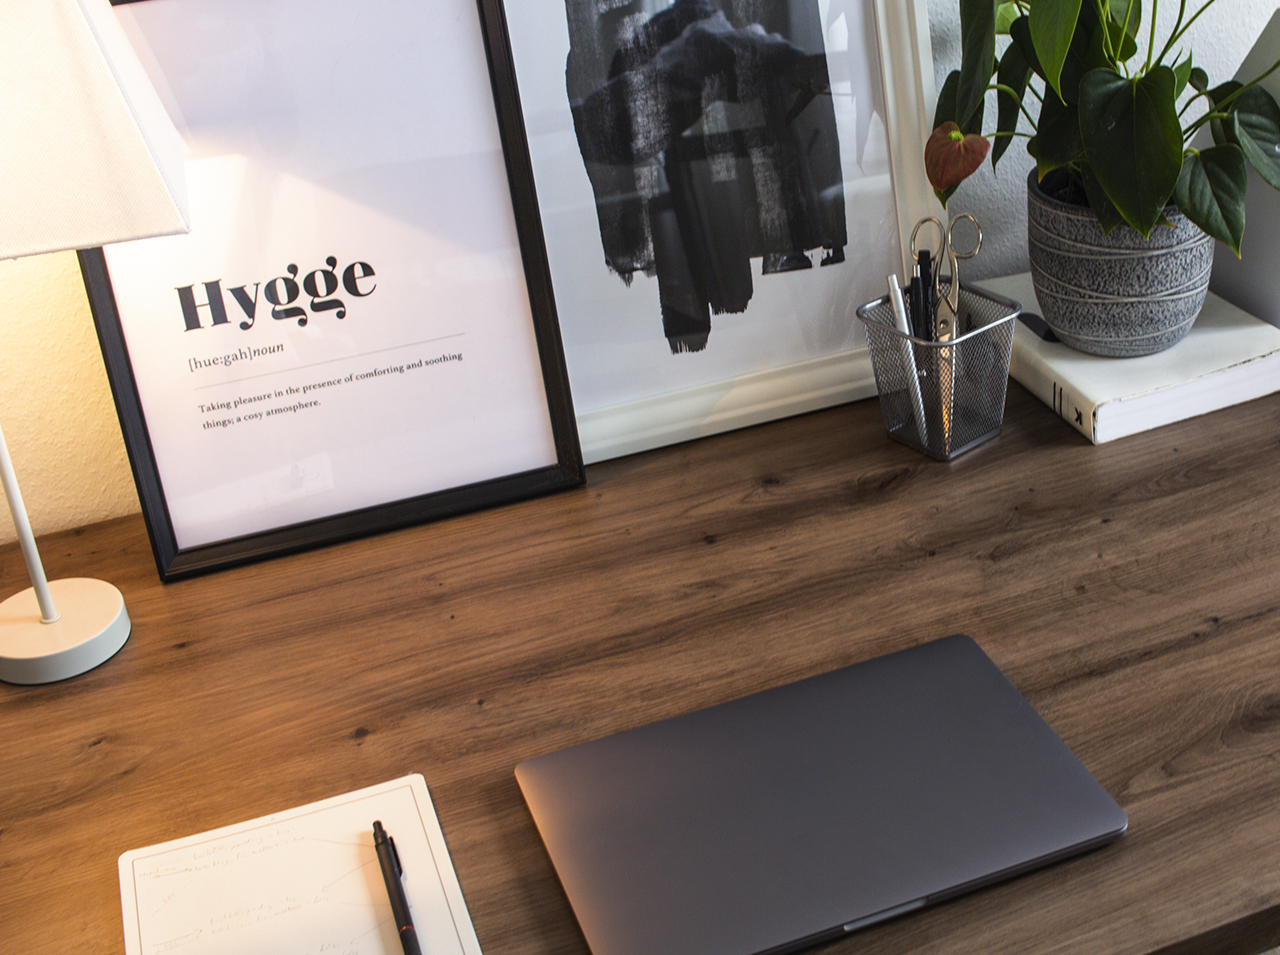
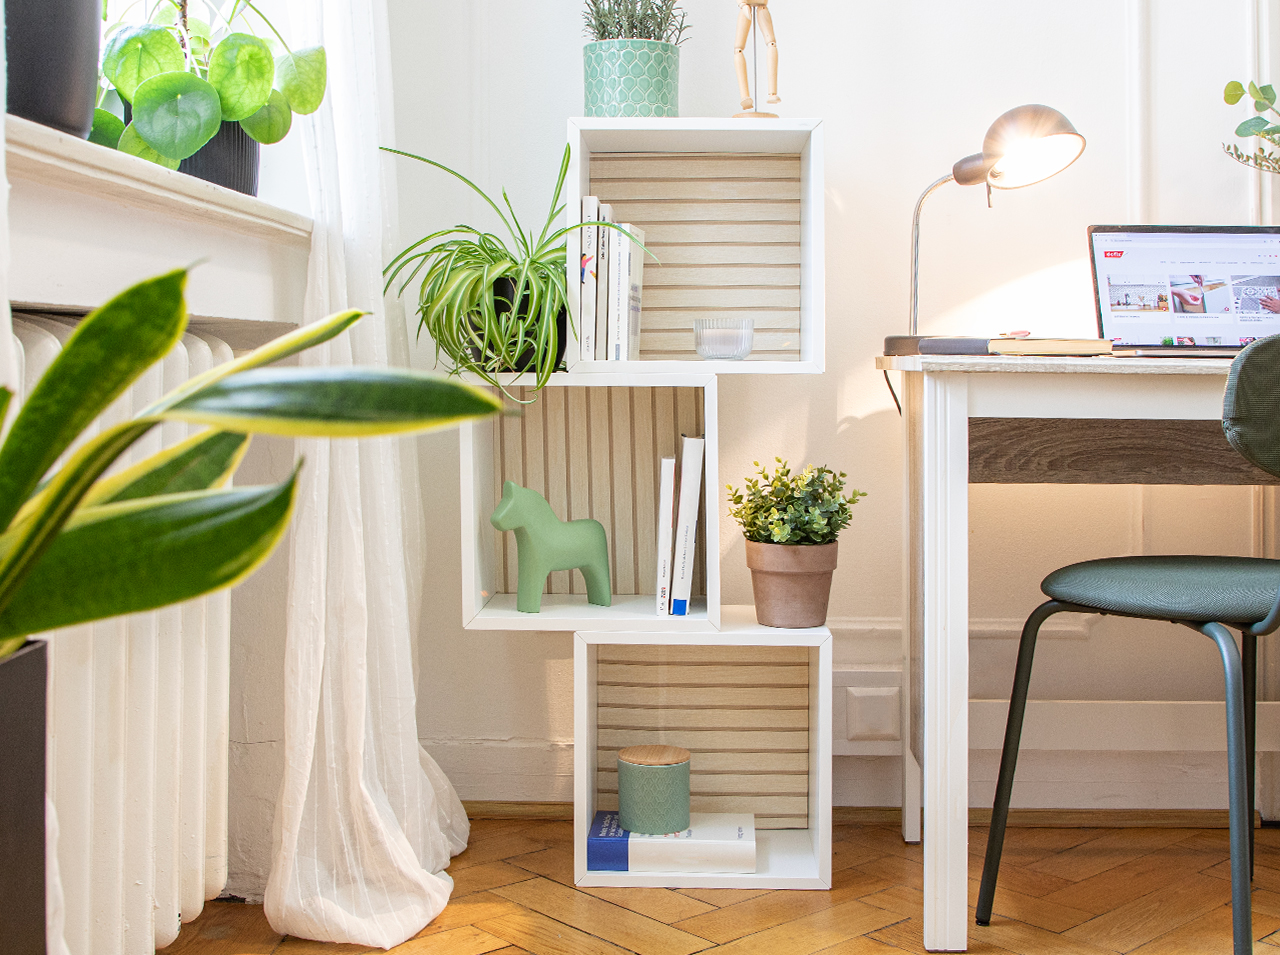
Upcycling DIY: Turn your old work desk into a brand new gem!
Project from Cintia - 0 CommentsDo you sometimes feel like you spend most of your time at home at your work desk? Do you like your home office, but want a little change and a breath of fresh air? Do you feel like treating yourself to something special, and giving your desk a new look? Then we have the perfect DIY upcycling idea for you: With the d-c-fix® artisan oak self-adhesive film with a modern oak look in a warm nougat shade, you can give your desk top the appearance of genuine oak with an elegantly harmonious look. Or, if you prefer a brighter look, the wood effect from d-c-fix® Ribbeck Oak is the film for you, perfectly matched to the Scandi style of living. No matter what your desktop currently looks like, or how old and worn out it is: These two adhesive films in the trendy natural wood look will make your desk a chic one-of-a-kind piece in no time at all!
Create a completely new look with upcycling – let’s get started!
- One roll of d-c-fix® Artisan Oak or Ribbeck Oak
- d-c-fix® Application kit with doctor blade and cutter
- Measuring tape
- Pencil
- Scissors
Let’s go
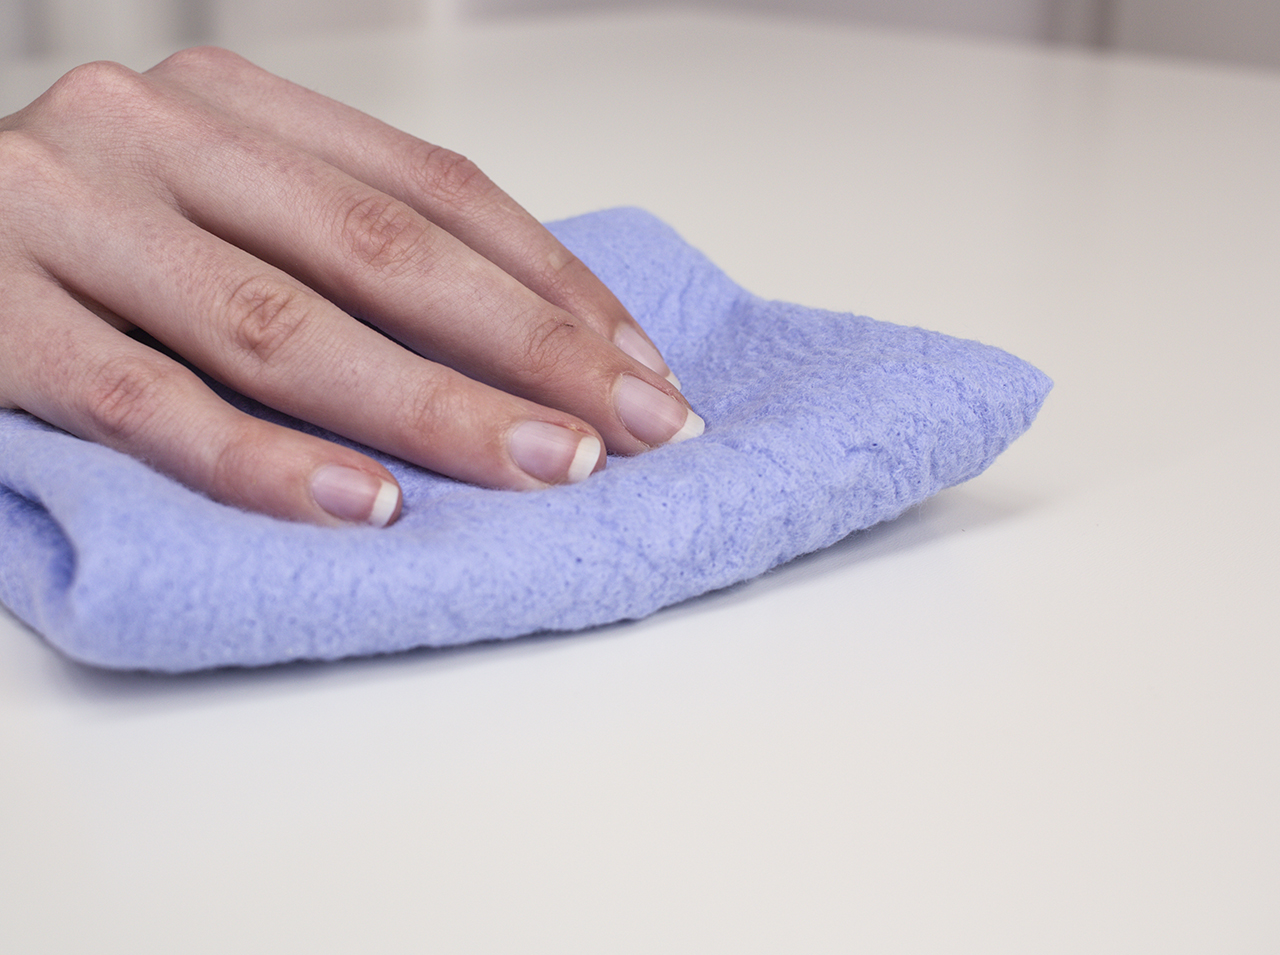 Step 1
To prepare for upcycling, first thoroughly clean the desktop surface to ensure film adhesion with optimum hold.
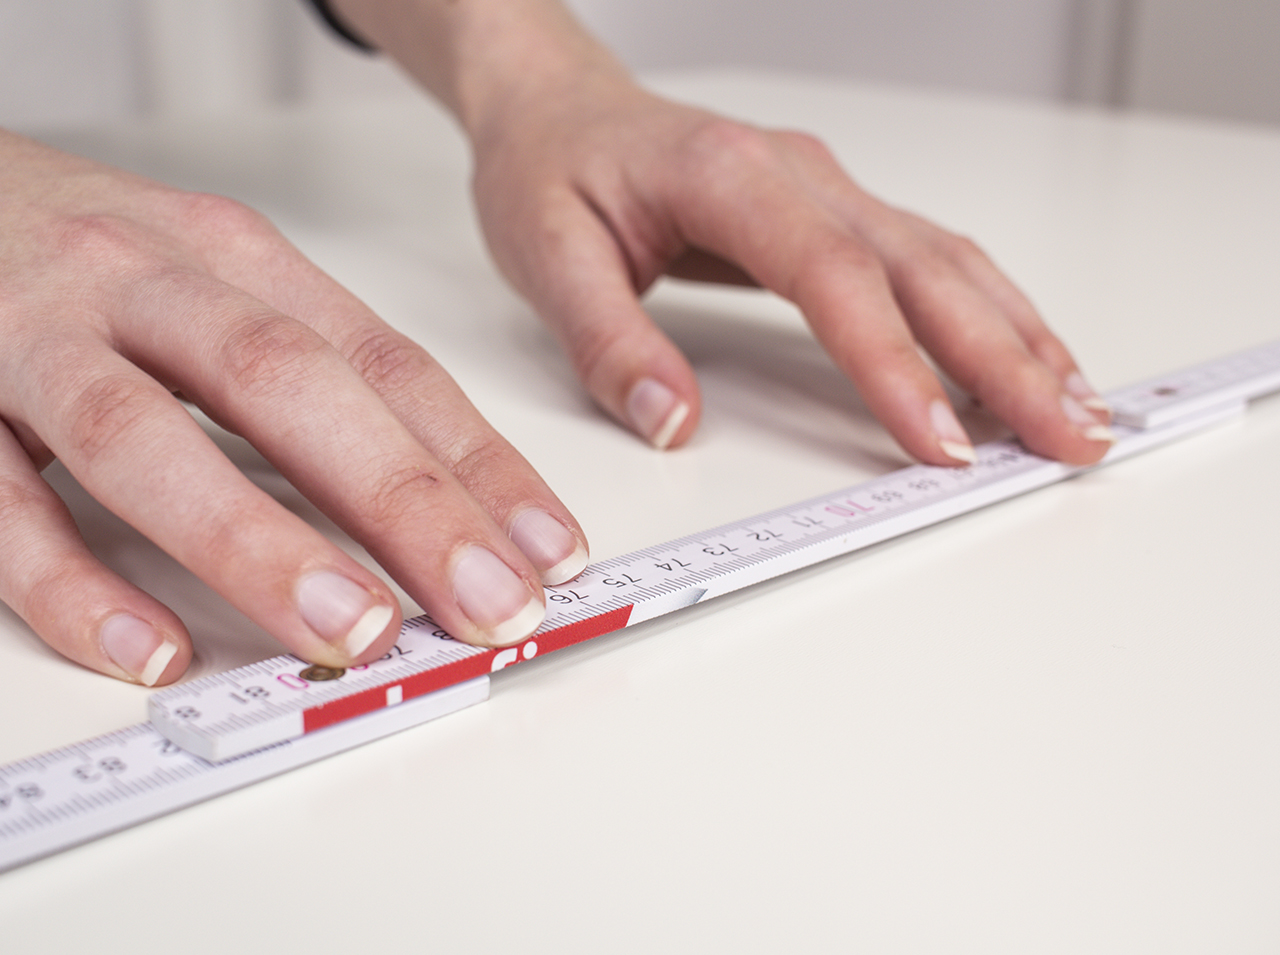 Step 2
Next, measure the tabletop and add to the total surface dimension the height of the desktop edge plus a few extra centimeters to ensure the edges are completely covered. Then transfer the dimensions to the backing paper of the Artisan Oak or Ribbeck Oak adhesive film.
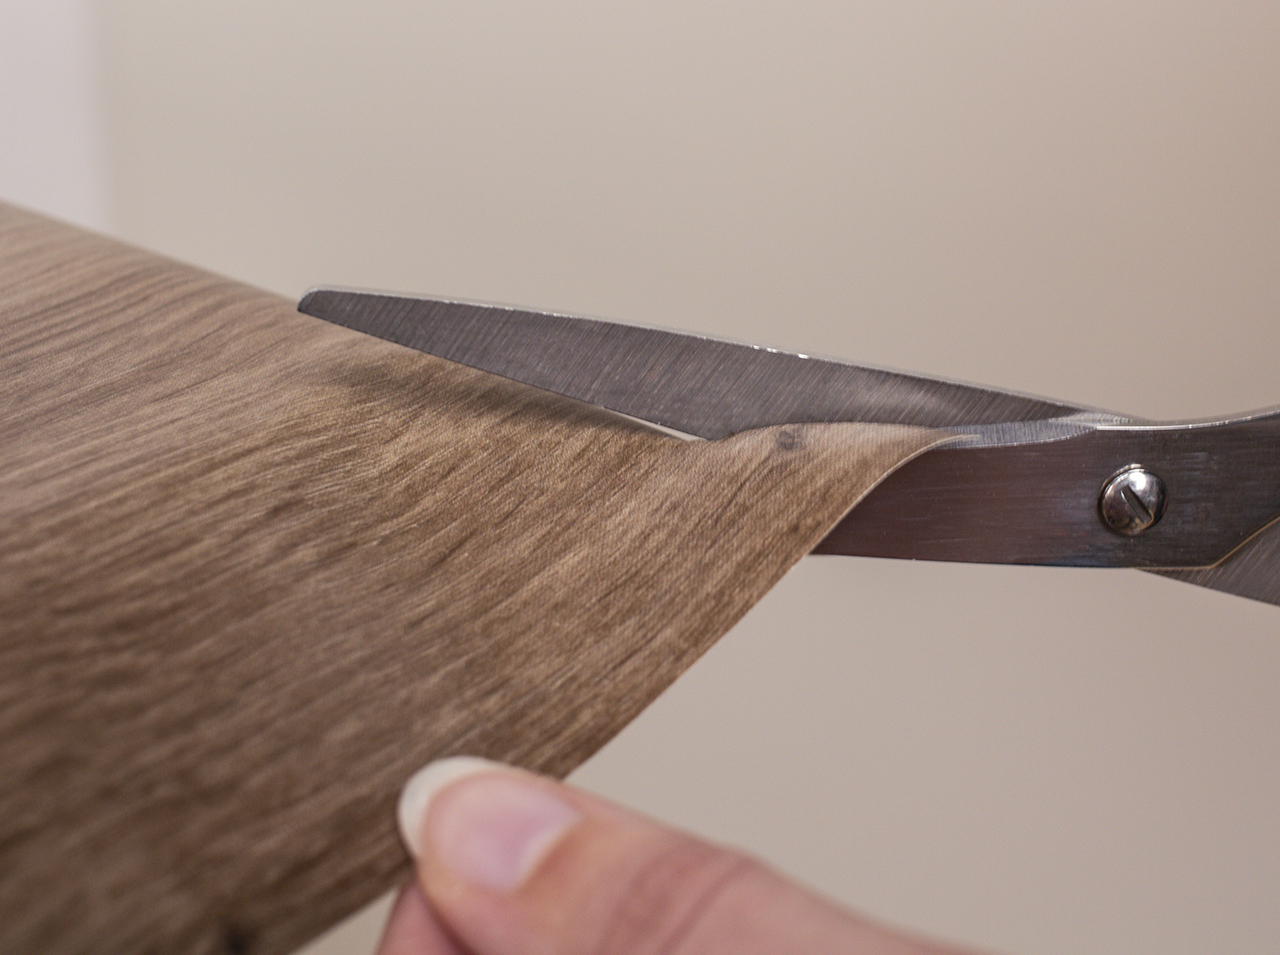
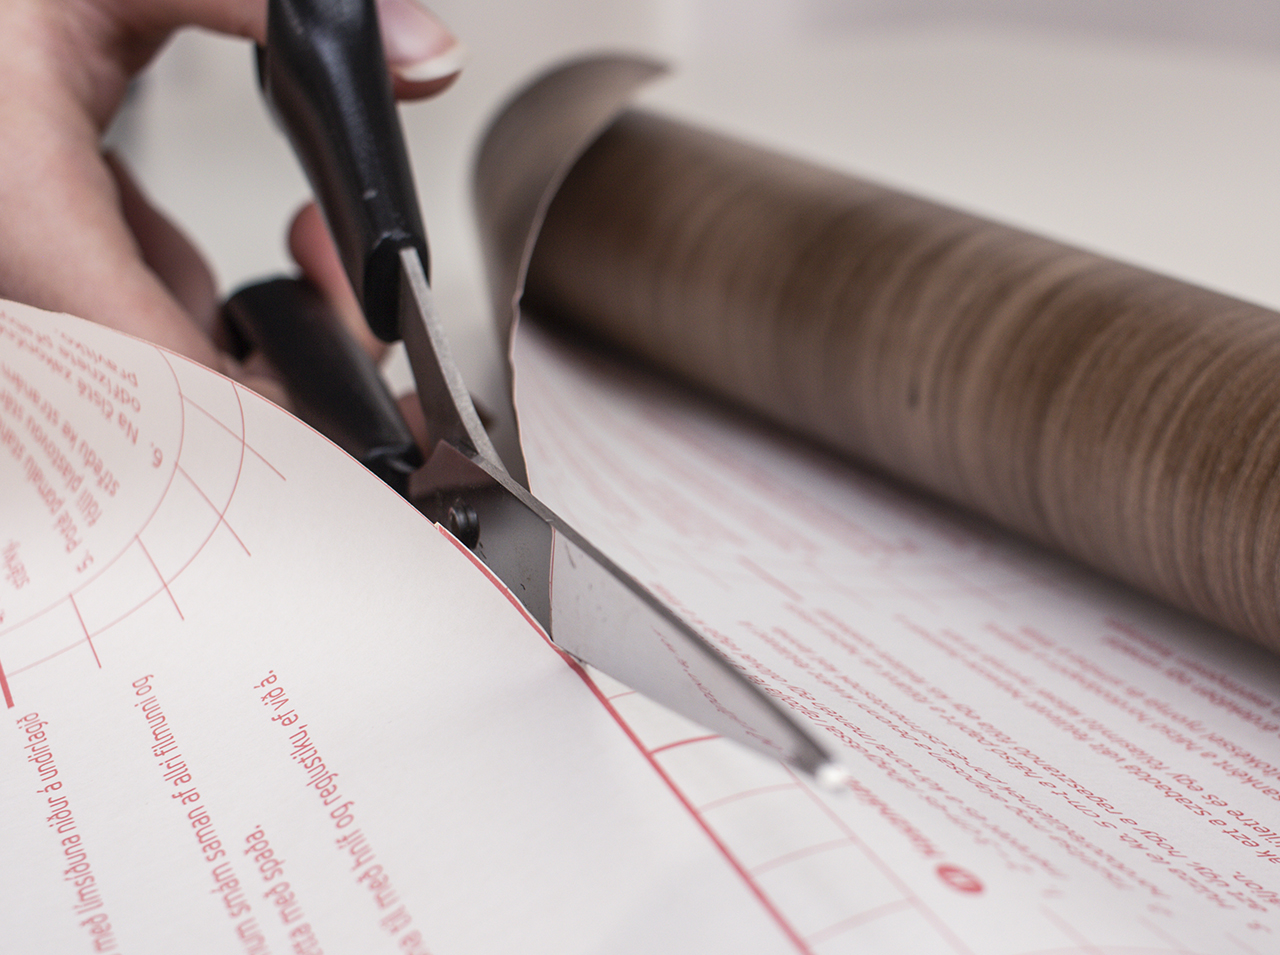 Step 3
Now, cut out the piece of film for your desk.
 Step 4
Pull back a few centimeters of the backing paper from your piece of film, place the film on the tabletop and press this first section firmly in place. Then it’s best to work your way forward in hand-width sections over the entire tabletop: Remove the backing paper further, press the film in place, and then use the squeegee to smooth and firmly set it.
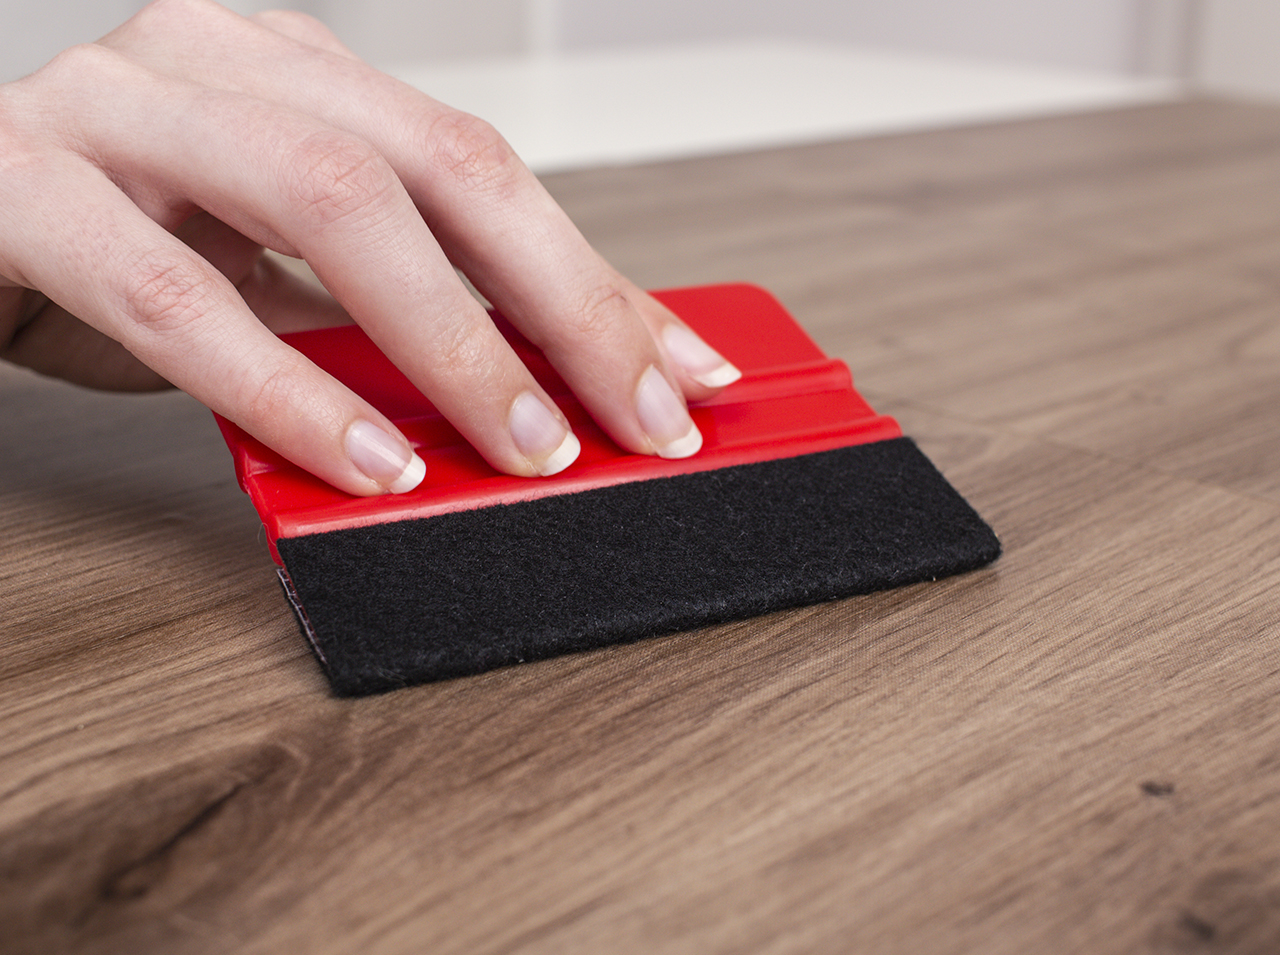
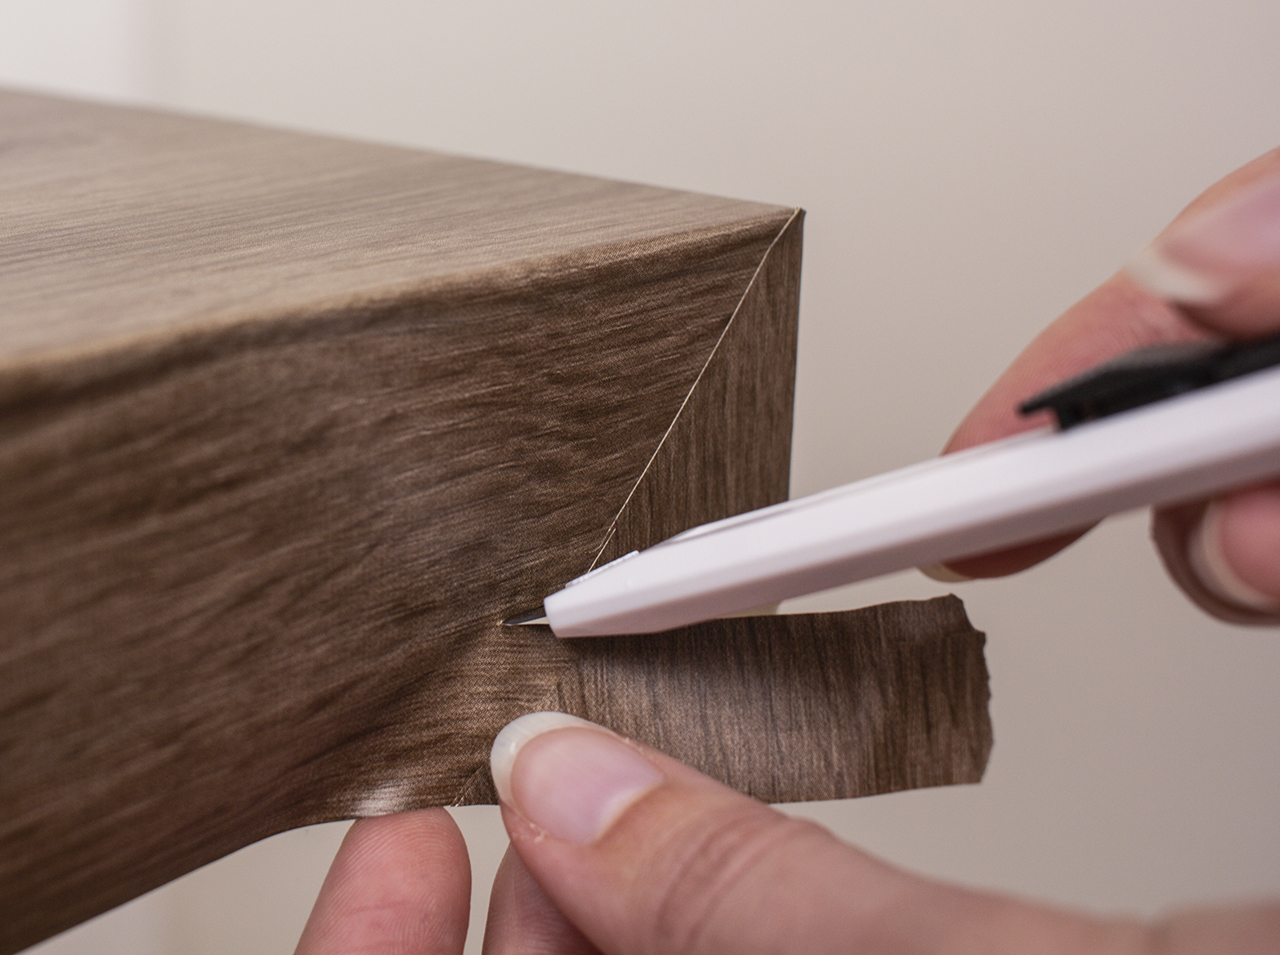
 Step 5
Having now reached the edges of the tabletop, make a short cut in the edge of the adhesive film right at the corners, and then firmly press the film in place, covering the edges – here, too, using the squeegee to smooth and rework with firm pressure.
 Step 6
Finally, you can trim off any projecting excess film with the cutting knife – et voilà: Your new oak-look tabletop is ready!
You’re done!

Post A Comment
EXPERT ADVICE
The modern wood look of d-c-fix® Artisan Oakor Ribbeck Oak in combination with a reduced color world with lots of white, black, gray and soft pastel shades is particularly effective.
Preparation time
15 min
Execution
30 min
Difficulty level
Beginners
Costs
low
No Comments