You will need…
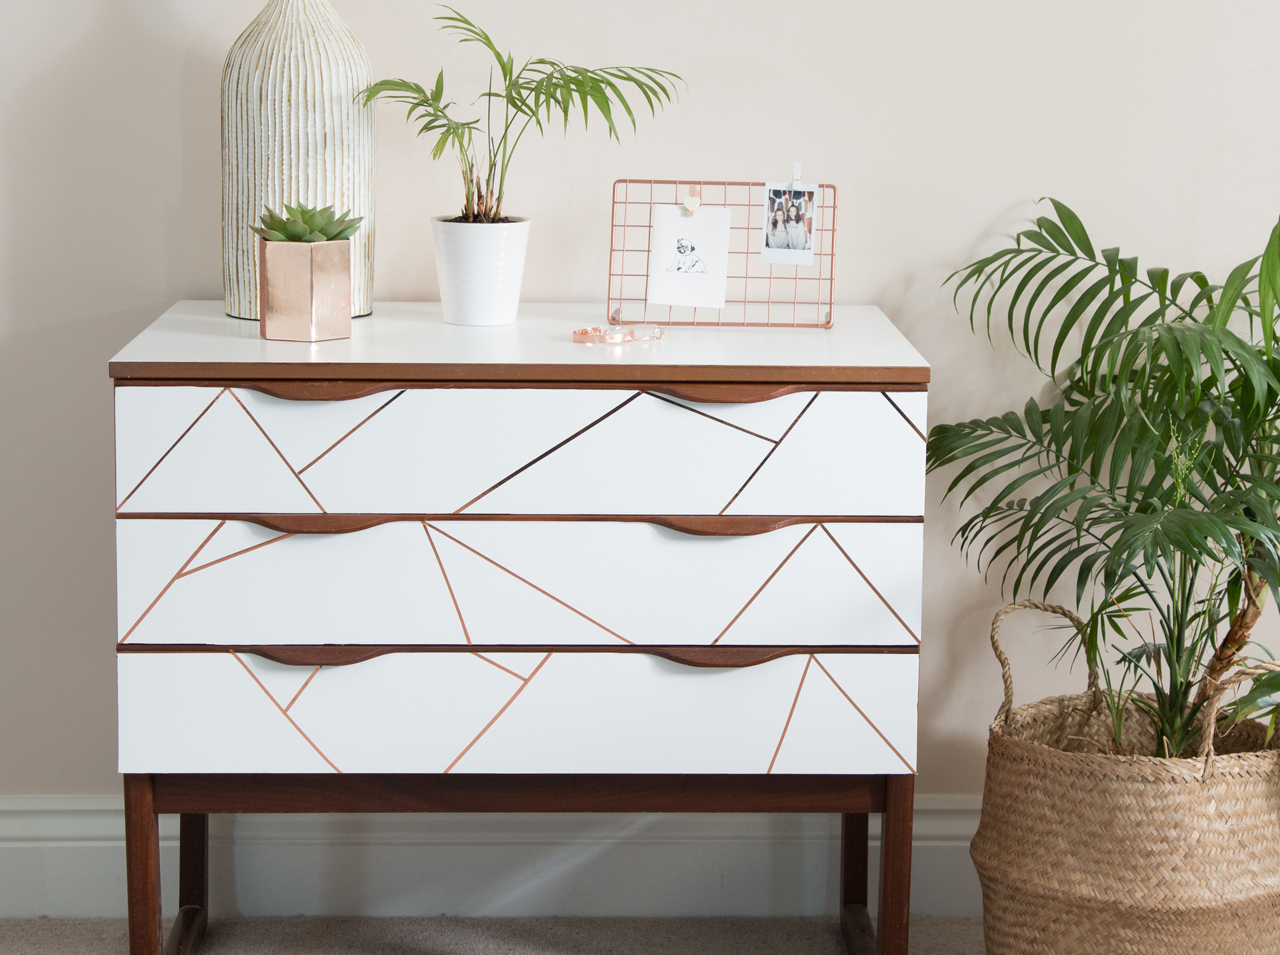
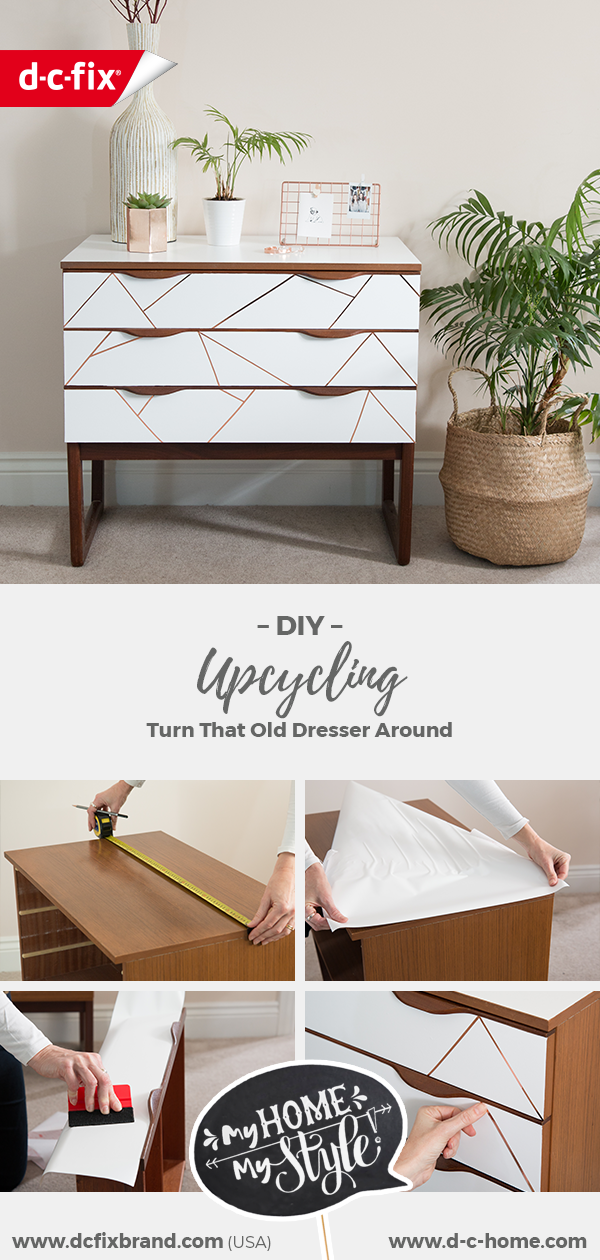
Upcycling with d-c-fix®: Turn That Old Dresser Around
Project from Patricia - 0 CommentsDon’t buy it new, do it yourself! Here’s a great DIY idea for furniture that has seen better days. The surfaces are scratched, the screws are old and need replacing; the wood is no longer in the best condition. But throwing it out is not an option!
You can give your dresser new life with d-c-fix®!
- One roll of d-c-fix® Uni paint in matte white
- One roll of d-c-fix® in rose gold
- d-c-fix® tool kit with doctor blade and cutting knife
- Measuring tape
- Pencil
- Scissors
Let’s go
 Step 1
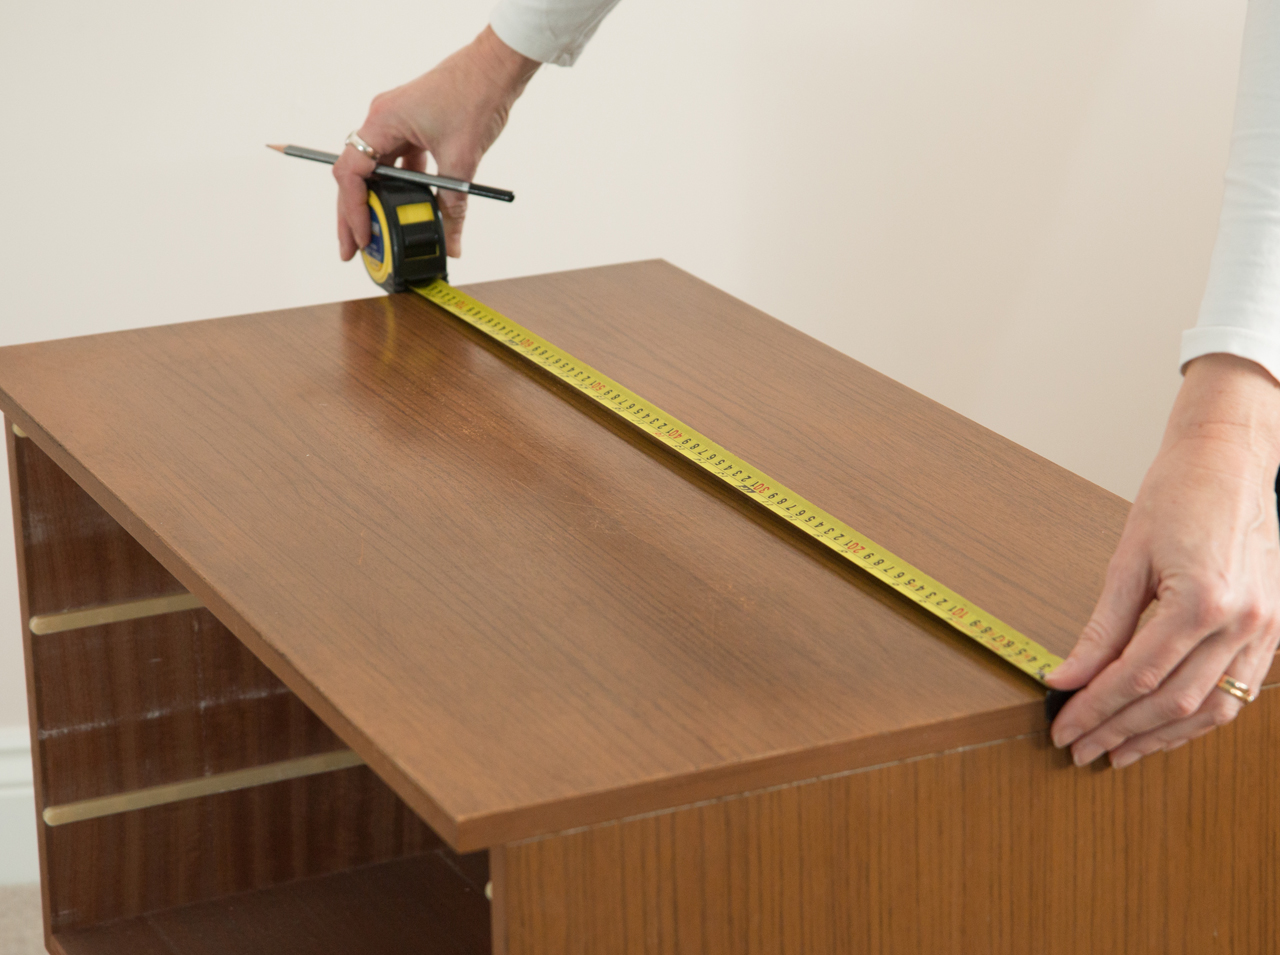
First, remove the drawers from the dresser. Now measure the surfaces of the dresser and transfer the dimensions to the white adhesive foil’s backing paper. Then cut out the pieces of foil.
 Step 2
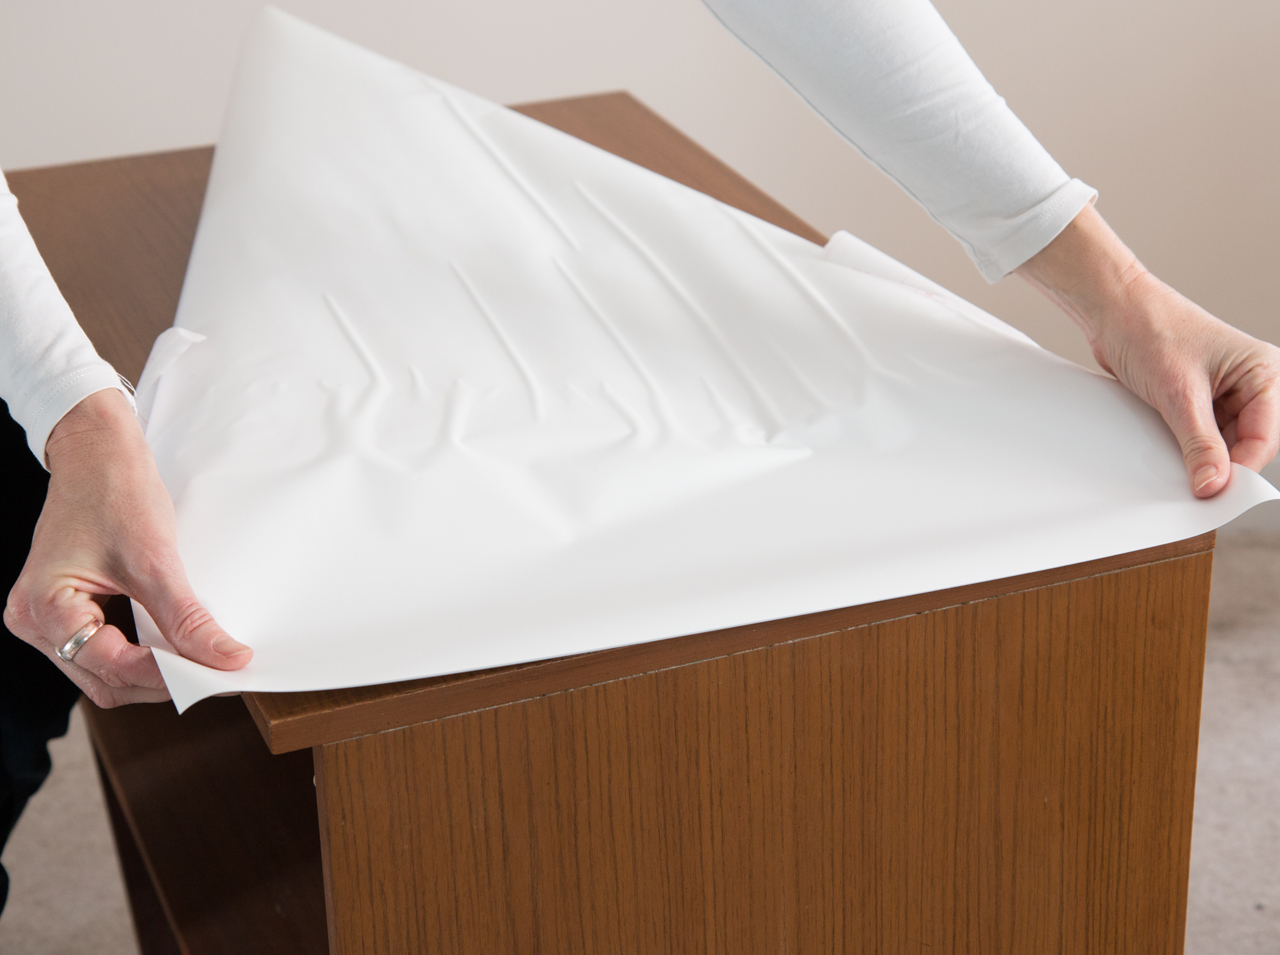
Now stick the d-c-fix®foil onto surface of the dresser. To do so, remove a piece of the backing paper and attach the adhesive side to the surface. Gradually remove the backing paper while sticking the white adhesive foil onto the chest of drawers. Smooth all of the adhesive foil well with the doctor blade. Then cut away the excess foil using a cutting knife.
 Step 3
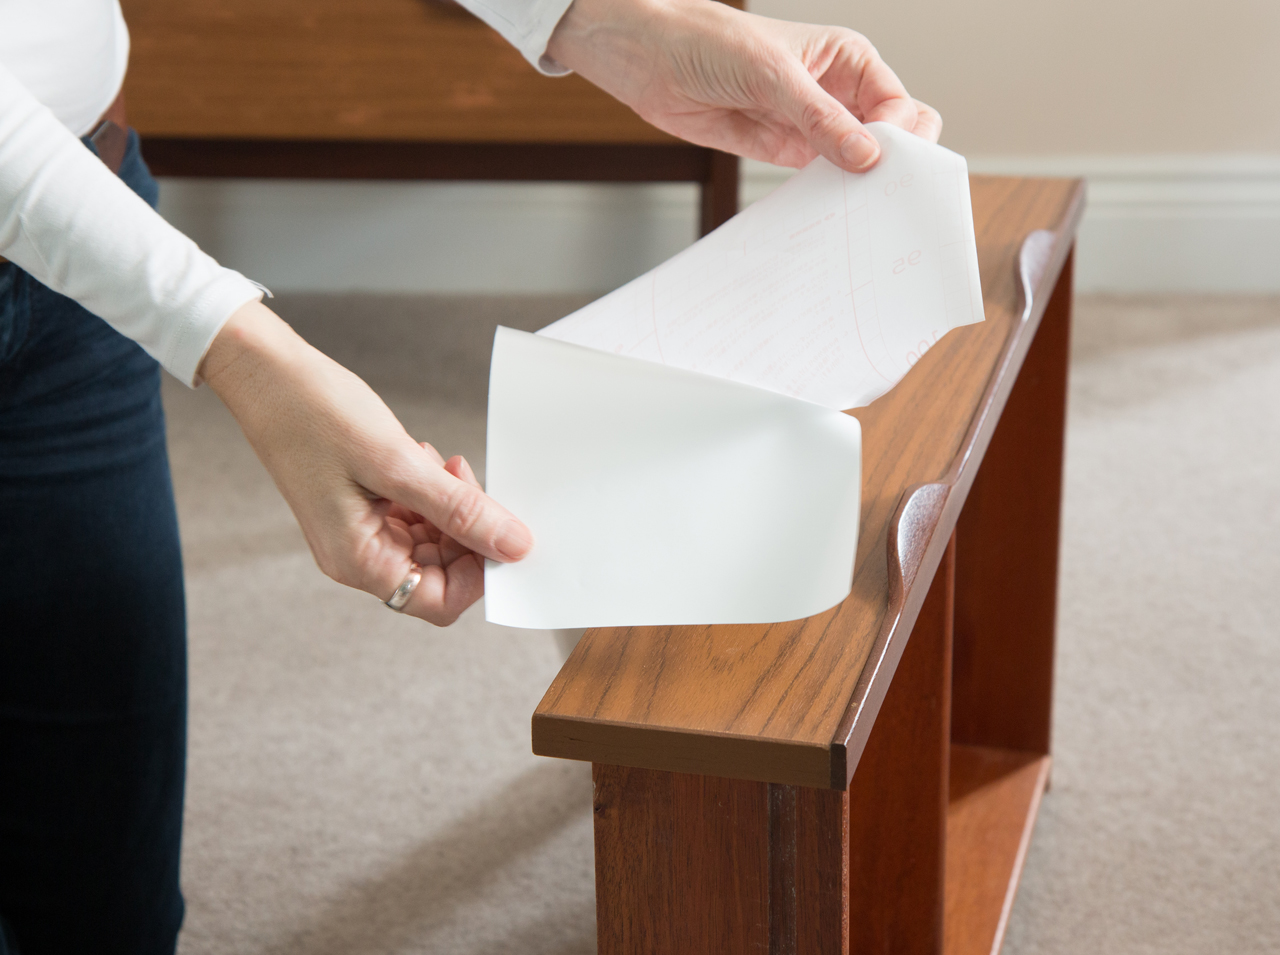
Now it’s time for the drawers! Measure the surfaces of the drawers and transfer the dimensions to the white adhesive foil. Cut out the pieces of foil.
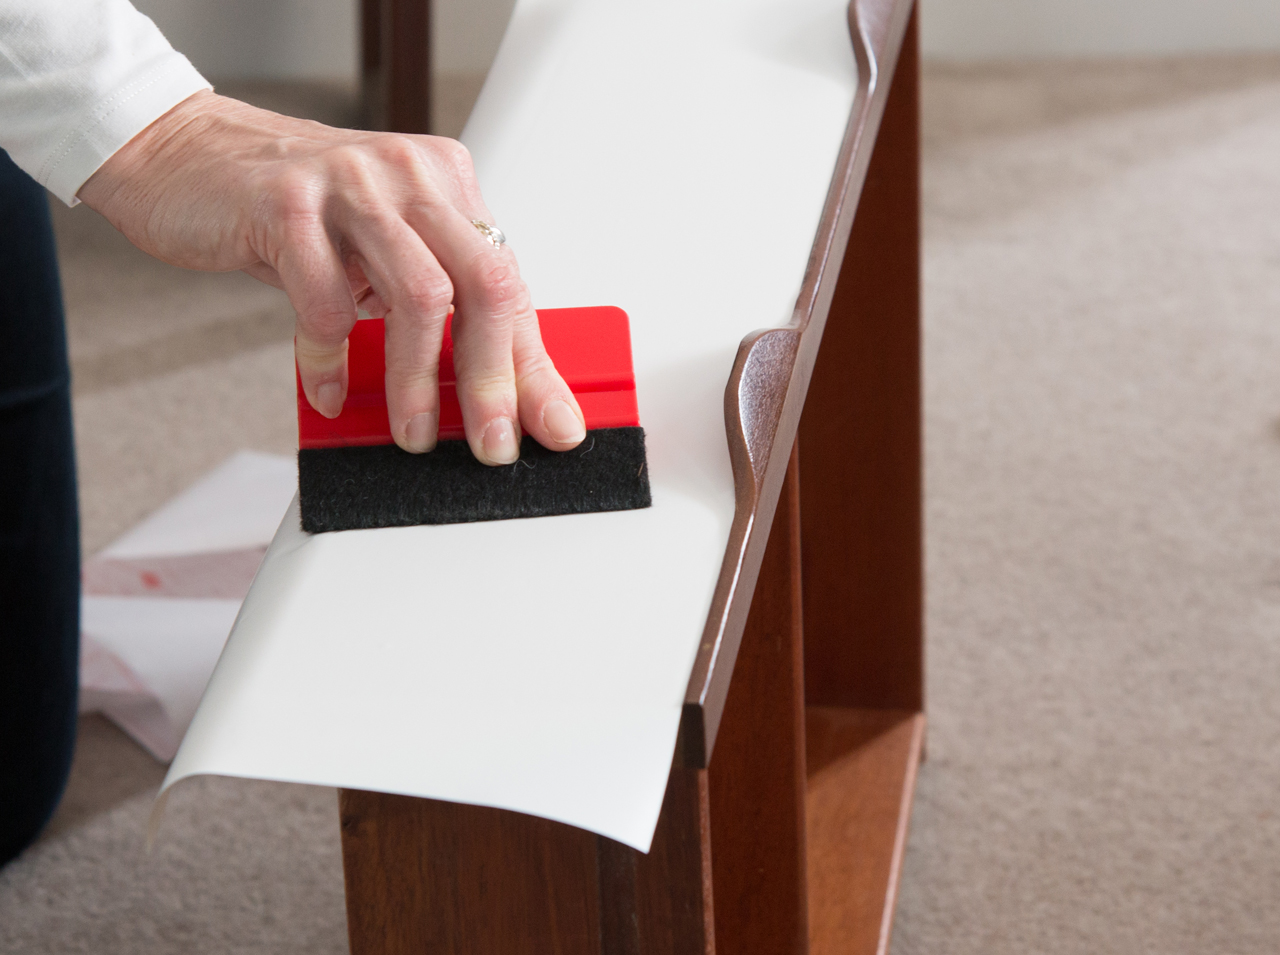 Step 4
Now remove the backing paper from the first piece of foil and stick the white d-c fix® foil on the drawer. As before, remove any excess foil with the cutter. Repeat this step until all drawers are covered.
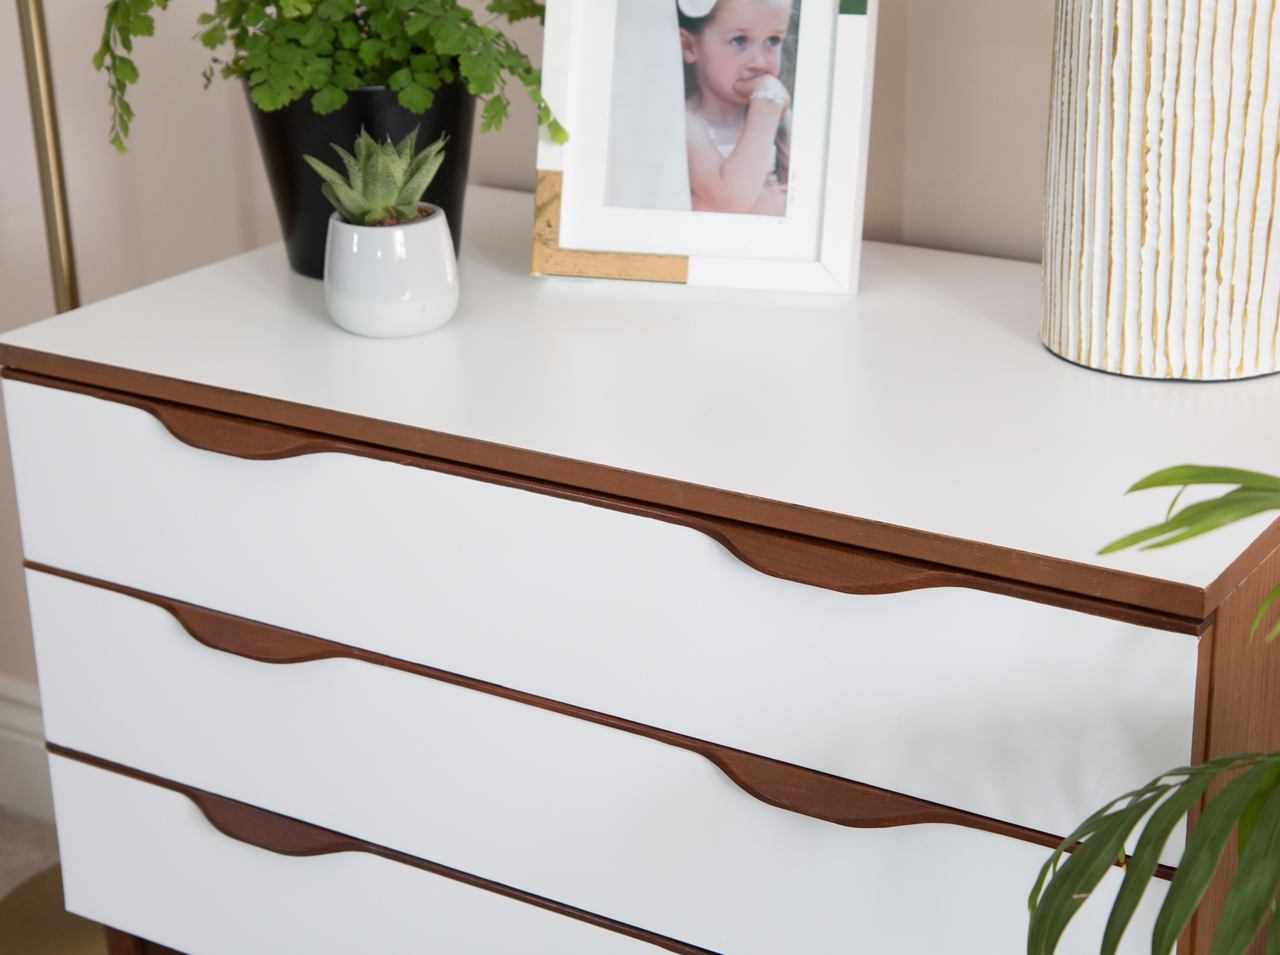 Step 5
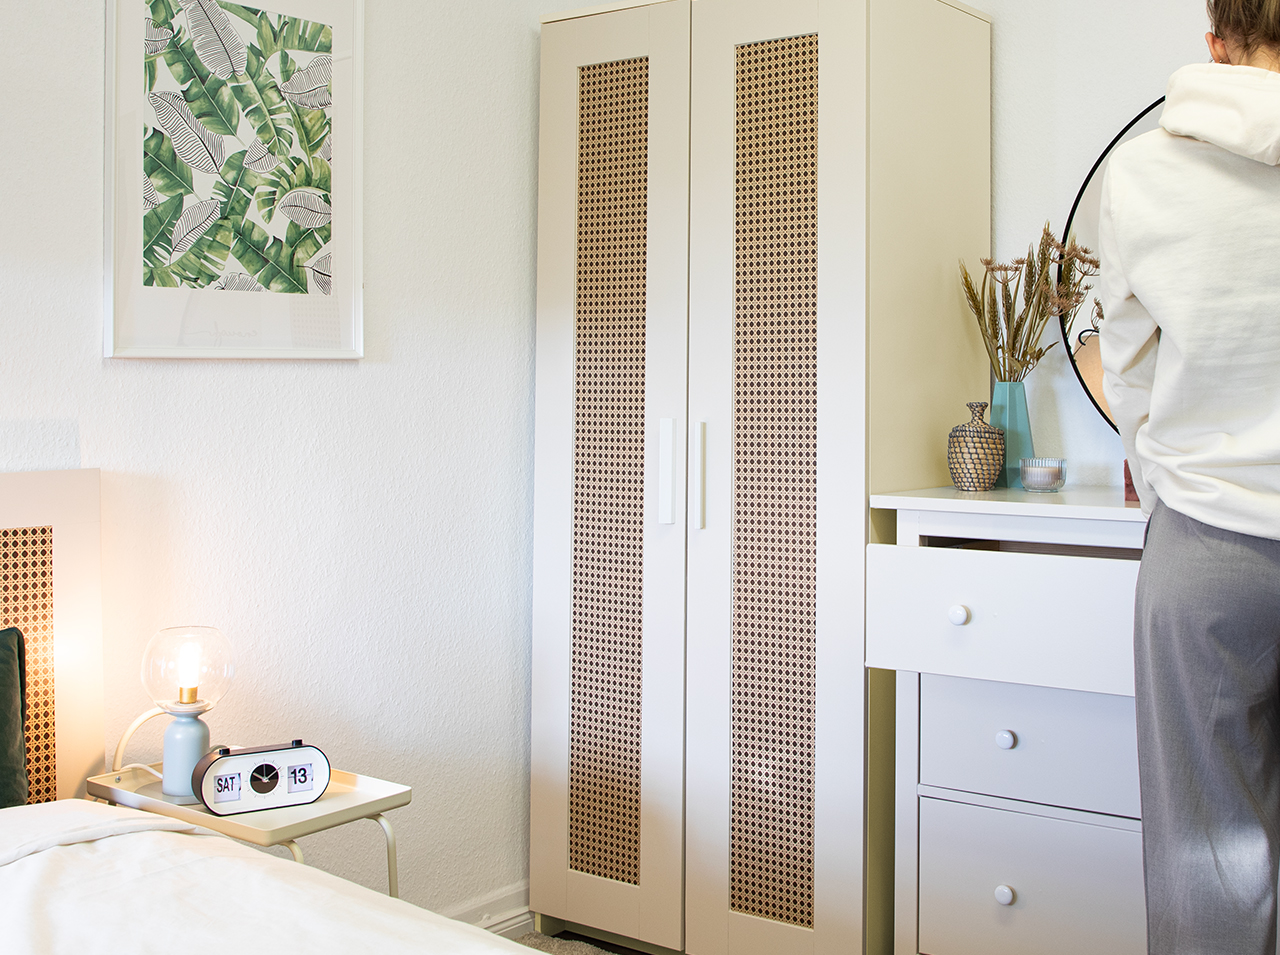
Put the drawers back in. Your dresser now has a modern, matte white look!
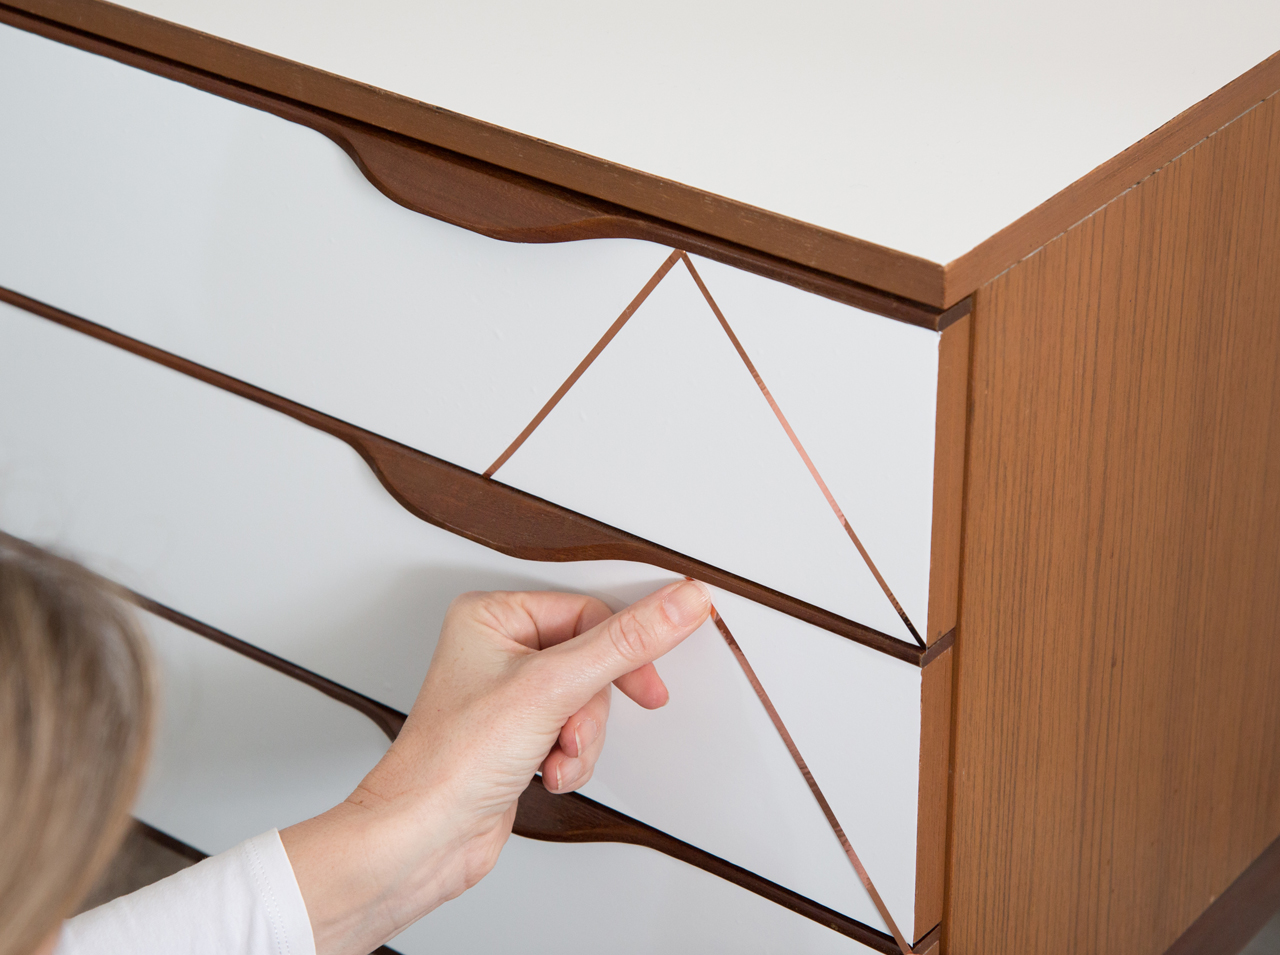 Step 6
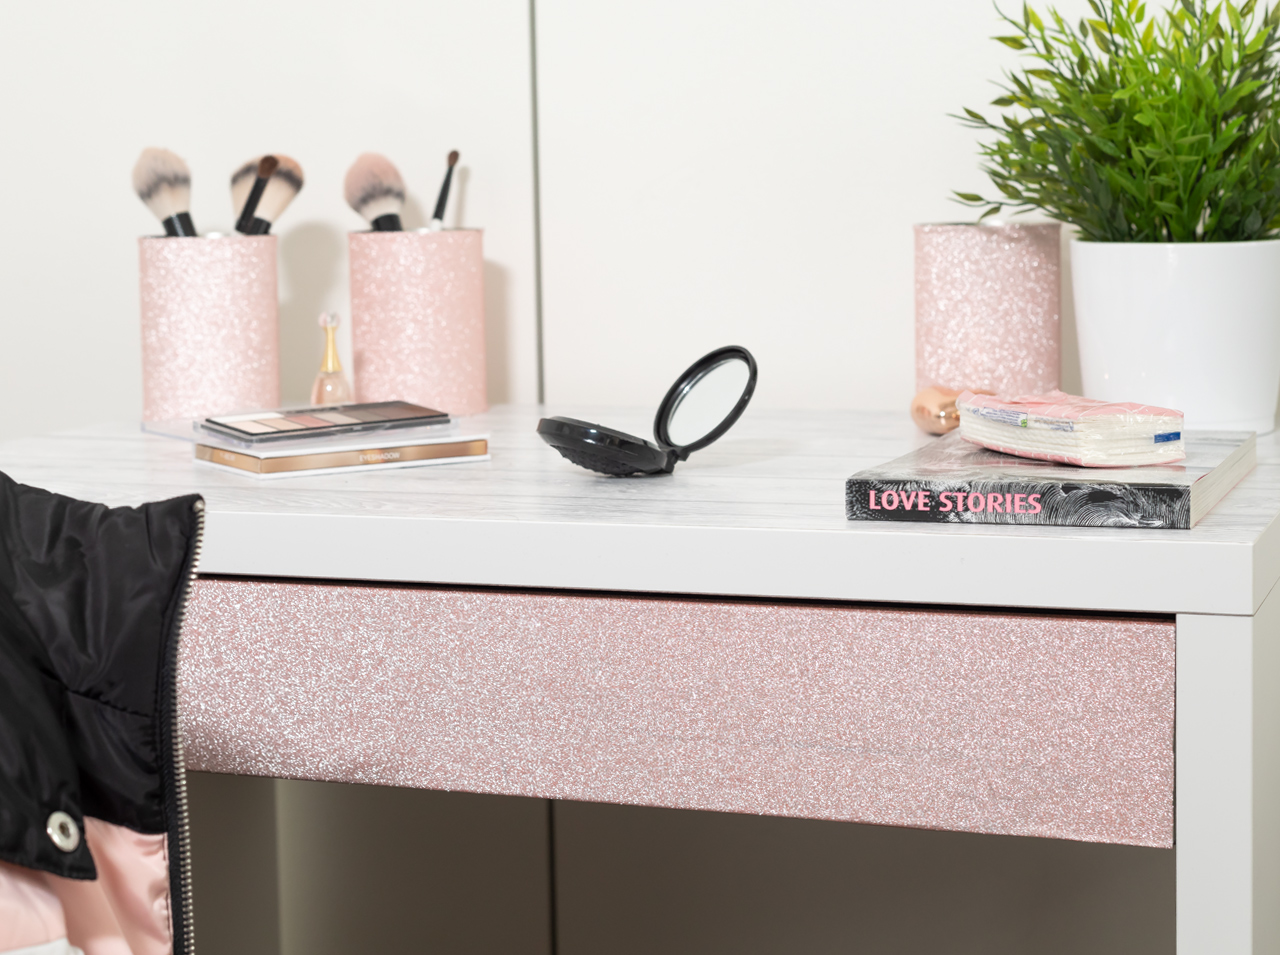
If you think this is too boring, cut out thin strips of the rose gold foil. Stick the strips onto the white drawers. You can decide how many strips to use and how to arrange them to suit your taste. Have fun with it!
You’re done!



No Comments