You will need…


Enter the search term and press "ENTER" .
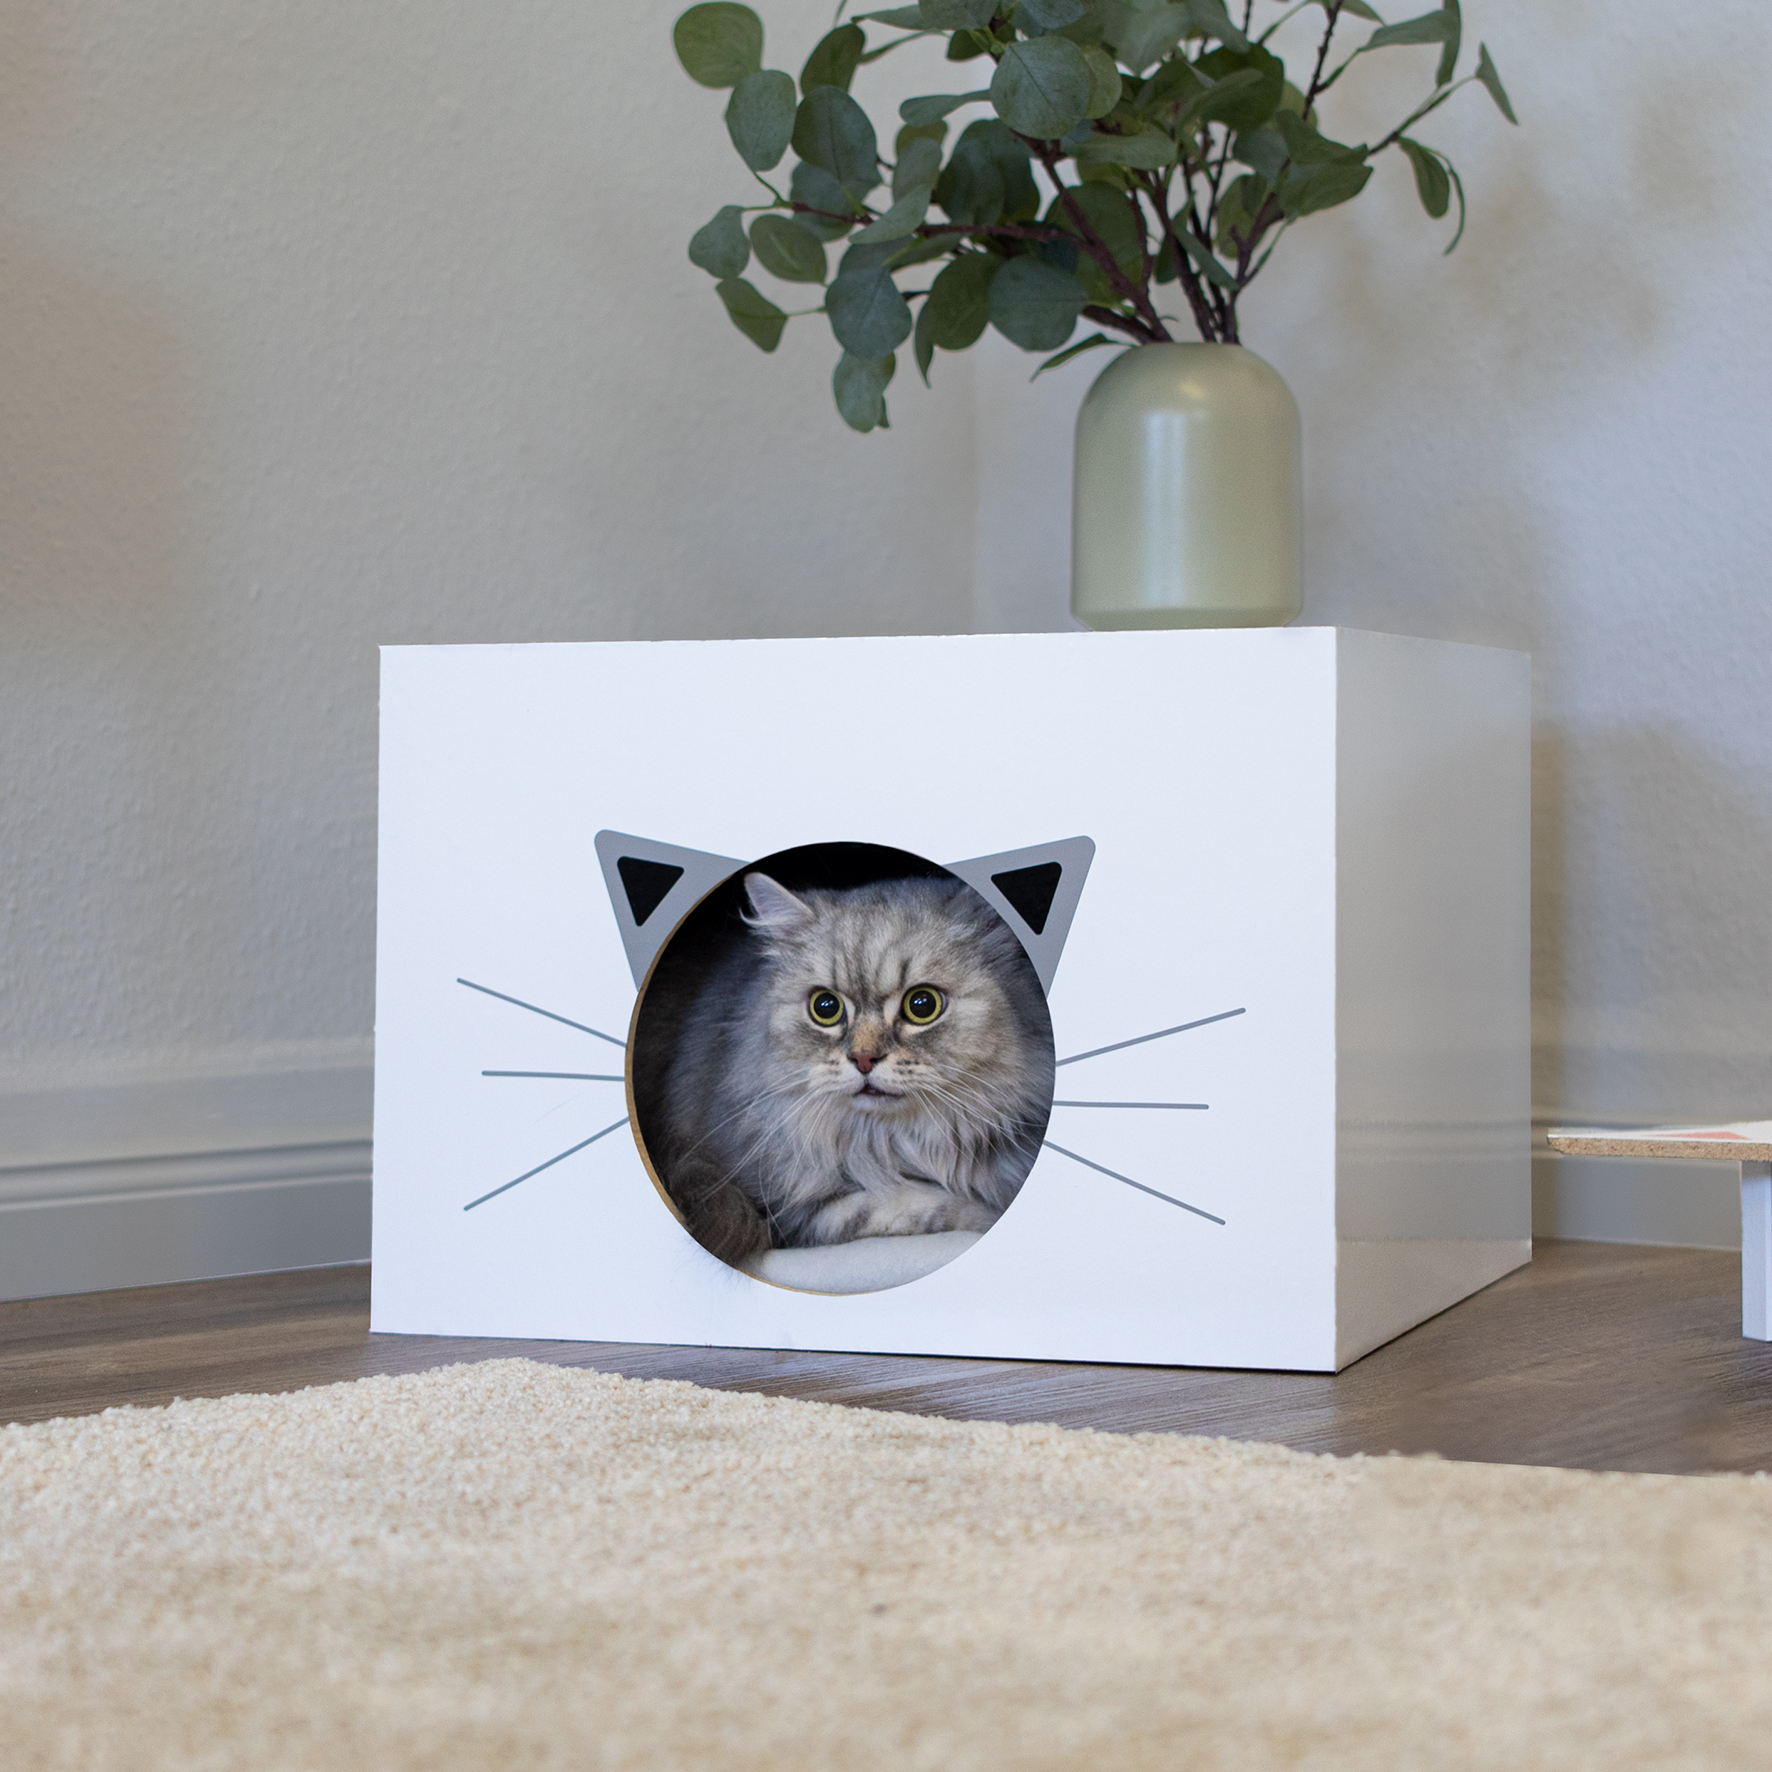
Pet DIY: Bye-bye cat bed – “Hello!” Cat house!
Project from Chris - 0 CommentsBasket. Blanket. Scratching post: All the usual accessories in the life of a “living-room tiger.” But have you ever thought of treating your cat to a house of their own as a retreat? And not just any, but a chic DIY cube made of wooden panels that is covered all around with d-c-fix® adhesive foil in white. The highlight of the homely box for the cat is the large round opening, which is designed with ears in gray and black whiskers on the outside – and therefore looks like a cat’s head. This is stylish and guarantees you daily pleasure looking at your stylish DIY cat house!
- d-c-fix® White
- d-c-fix® Black
- d-c-fix® Gray
- 6 wooden panels (40 x 40 cm)
- Measuring tape
- Wood glue
- Jigsaw
- Sandpaper
- Pencil
- Doctor blade
- Utility knife
Let’s go
 Step 1
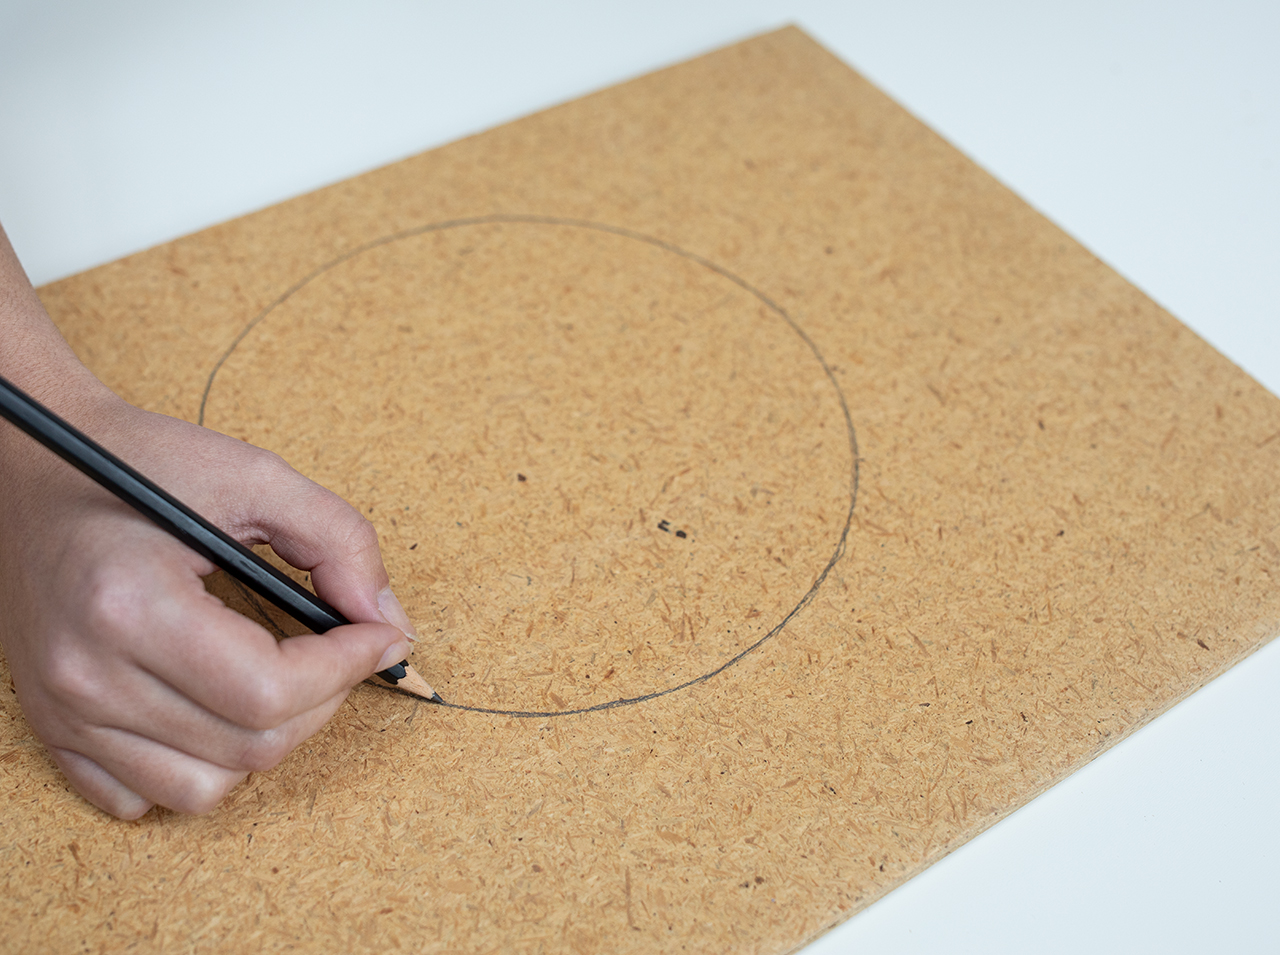
Draw a large circle centrally on one of the 6 square wooden panels.
 Step 2
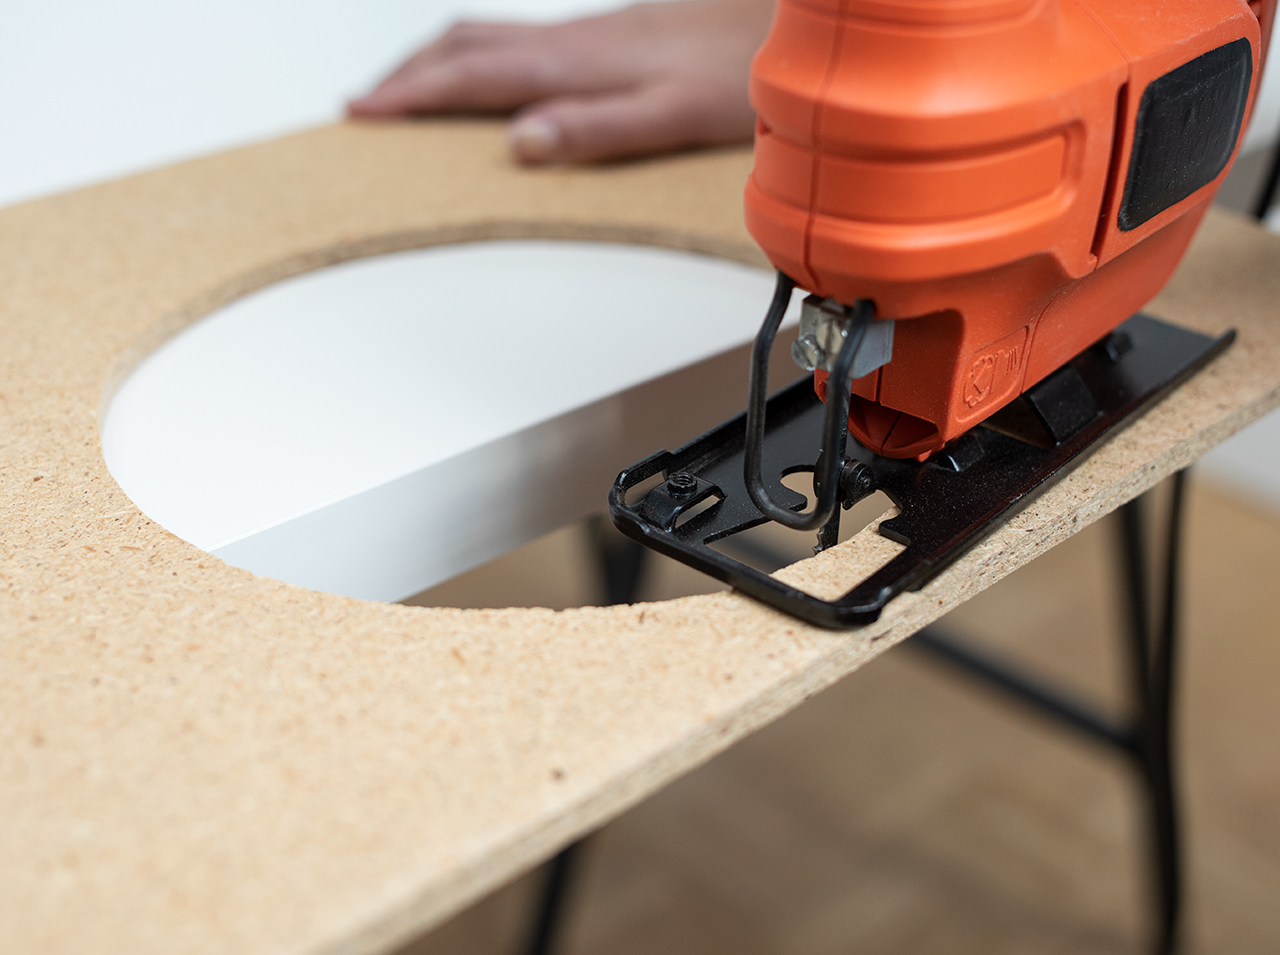
Cut the circle with a circular saw and sand the edges – this recess will serve as the door for the cat.
 Step 3
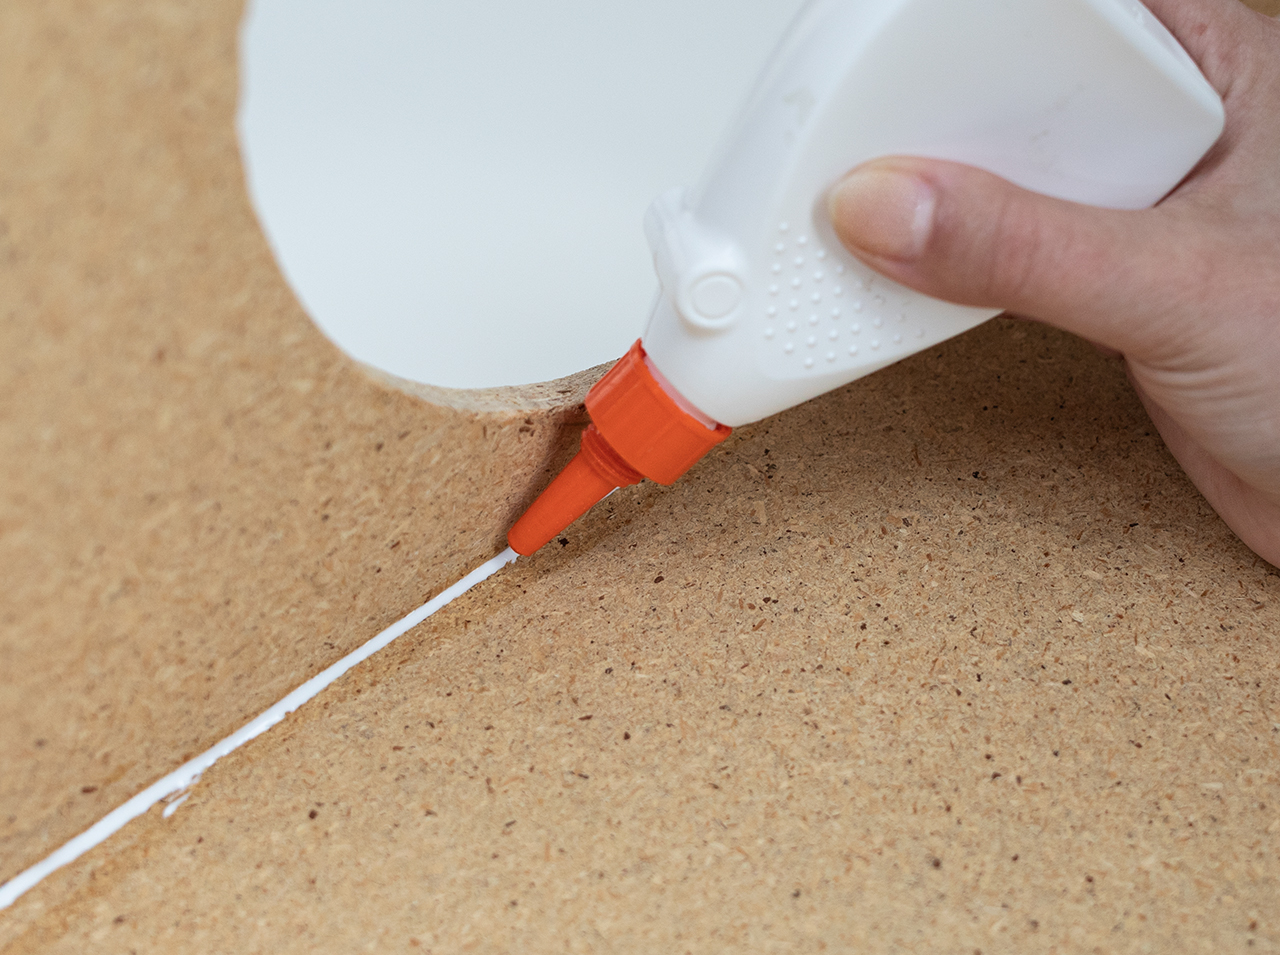
Now glue the panels together into a cube and let everything dry.
 Step 4
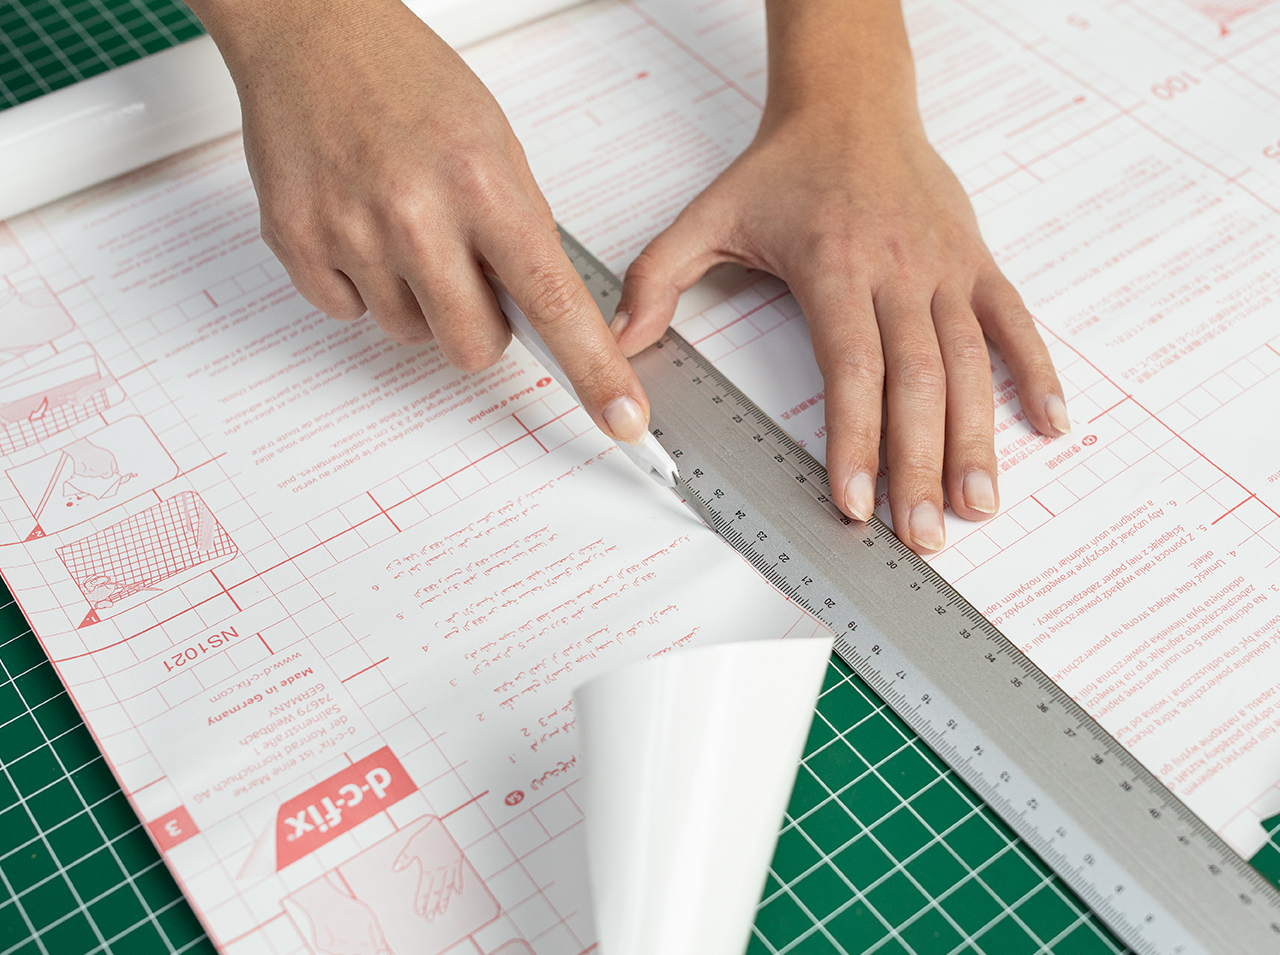
Now determine the dimensions of the cube surfaces and cut out the pieces of white foil.
 Step 5
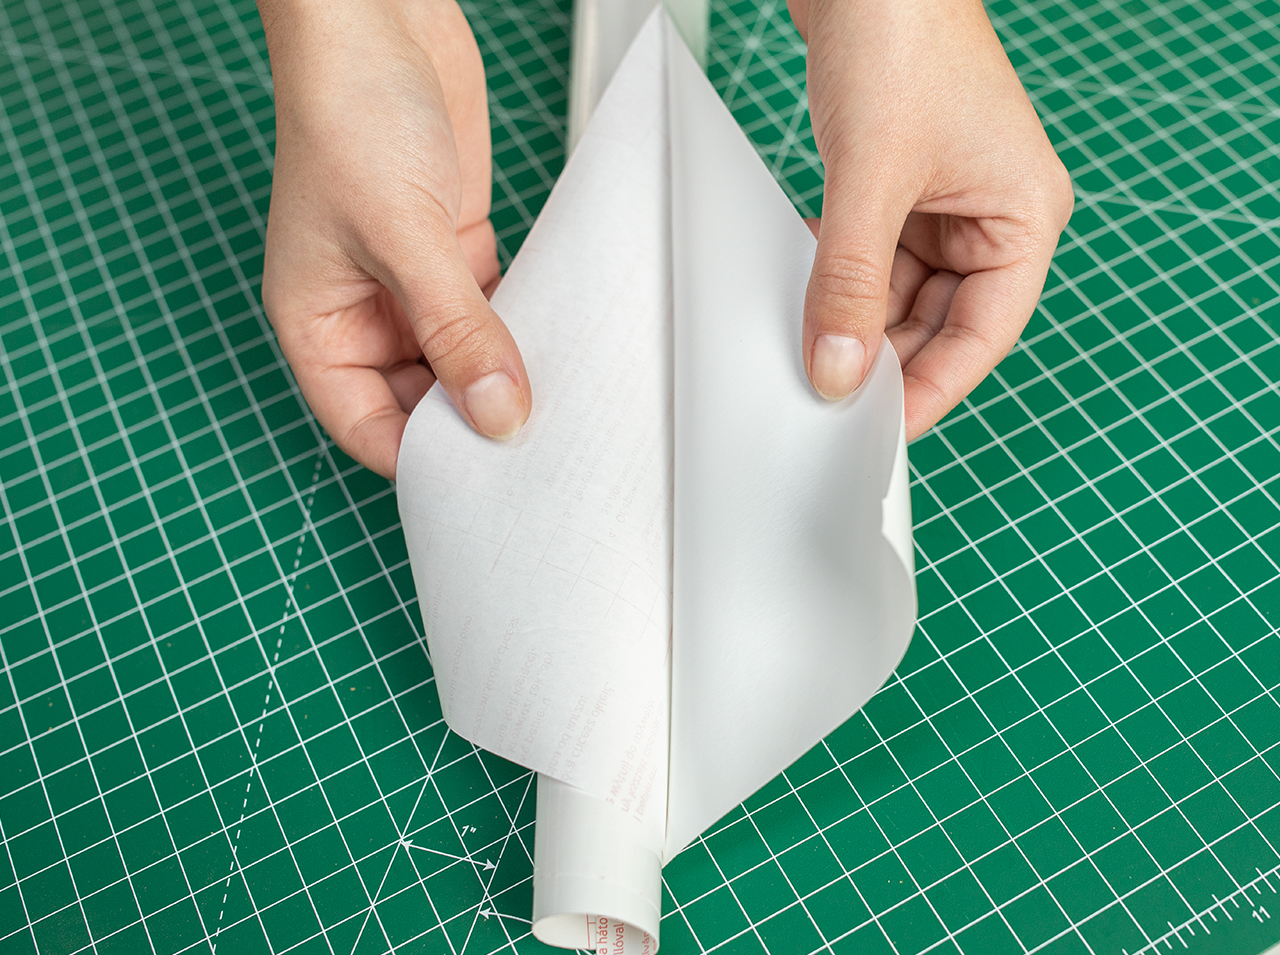
Peel off the backing paper of the foil and adhere the foil thoroughly using the doctor blade.
 Step 6
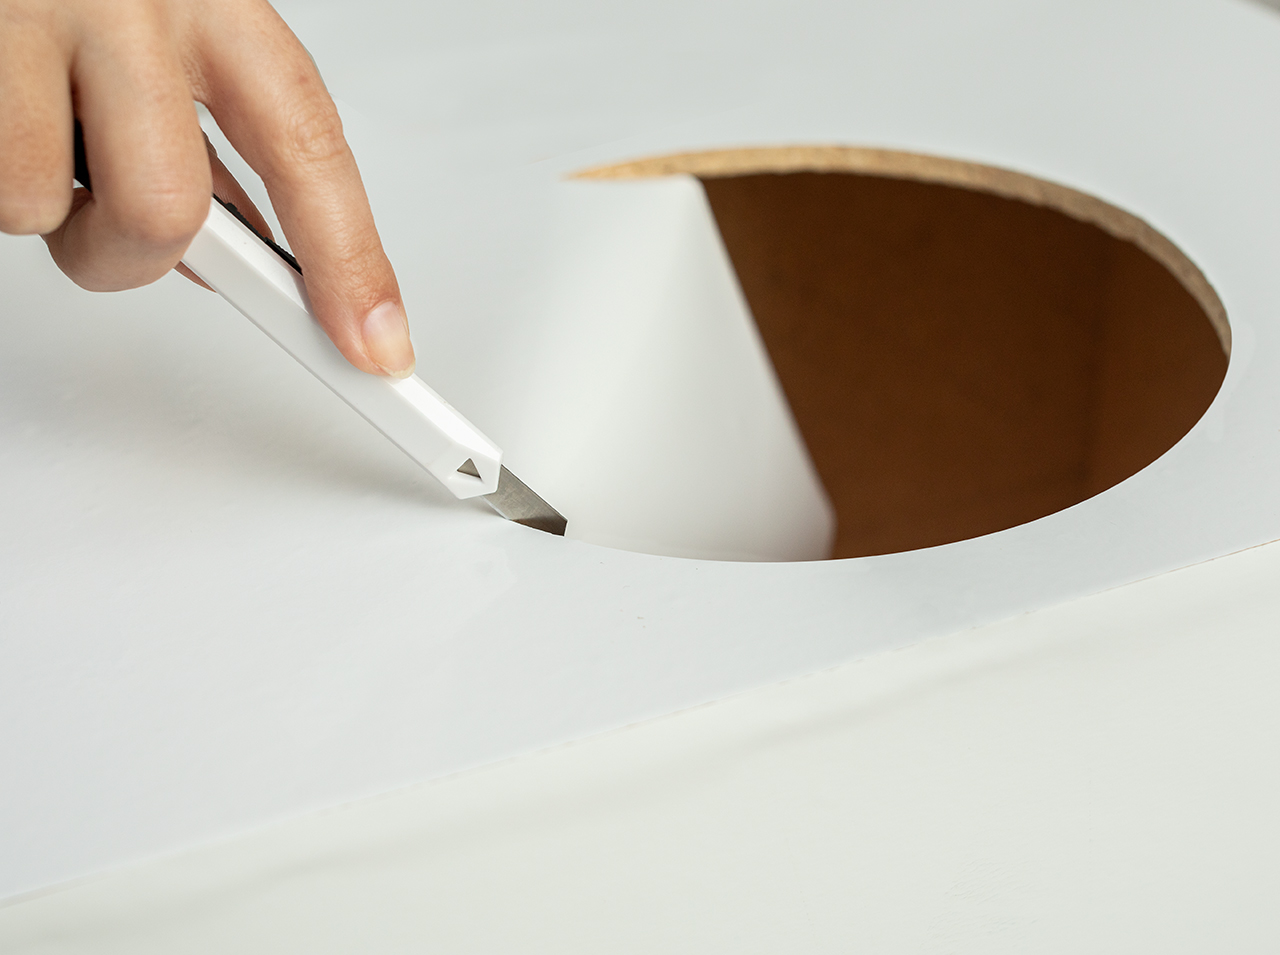
You can cut out the round recess on the front with the utility knife at the end.
 Step 7
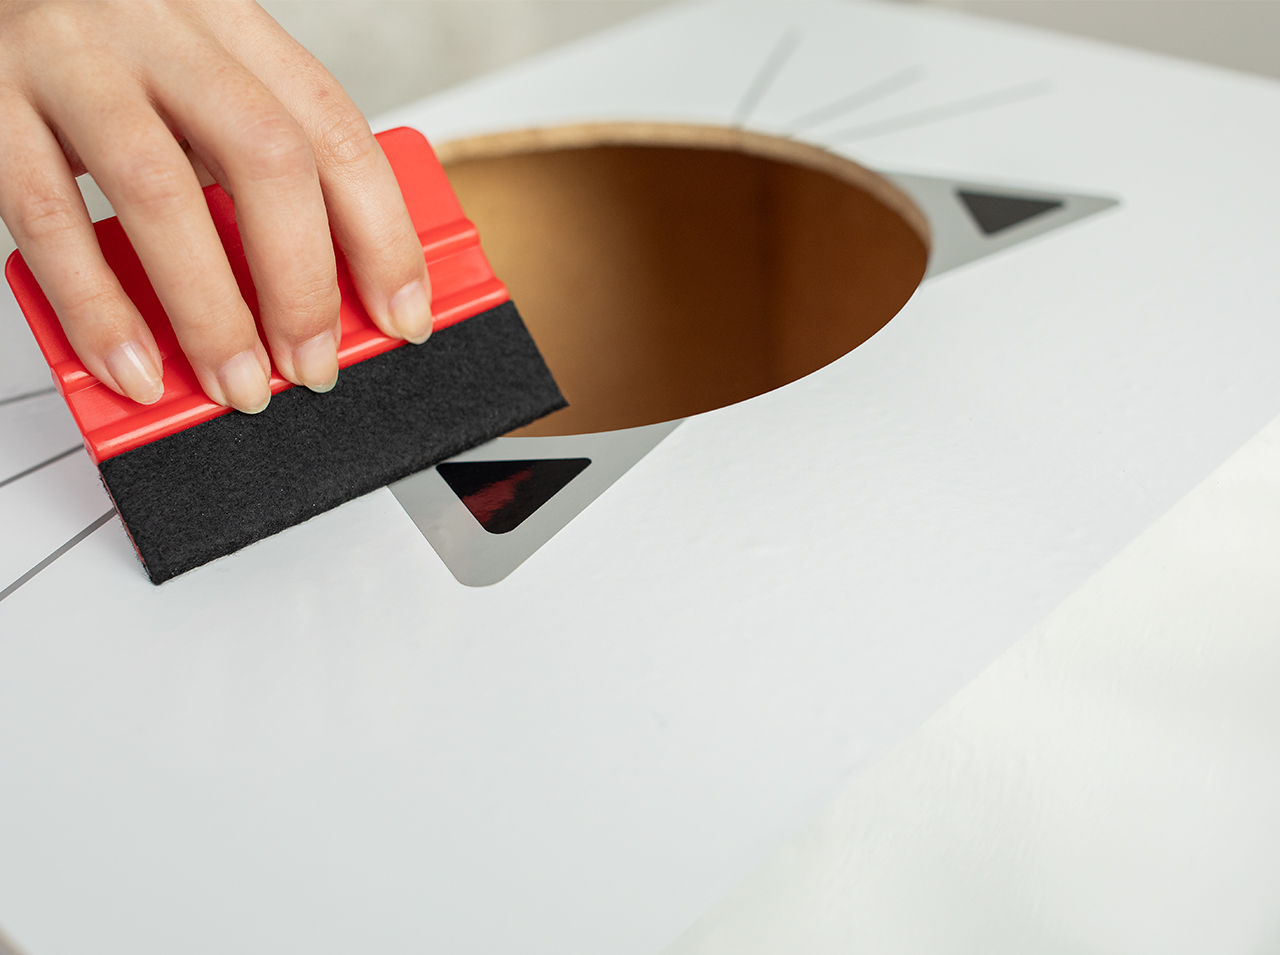
Draw ears and whiskers on the back of the gray and black adhesive foils. Cut out the elements and use the doctor blade to add them to the round recess to create the face of a cat.
You’re done!

Post A Comment
EXPERT ADVICE
Preparation time
15 min
Execution
45 min
Difficulty level
Advanced
Costs
Medium
No Comments