Discover our latest blog articles
Your DIY blog from d-c-fix
Inspiration, DIY projects, and advice all about d-c-fix
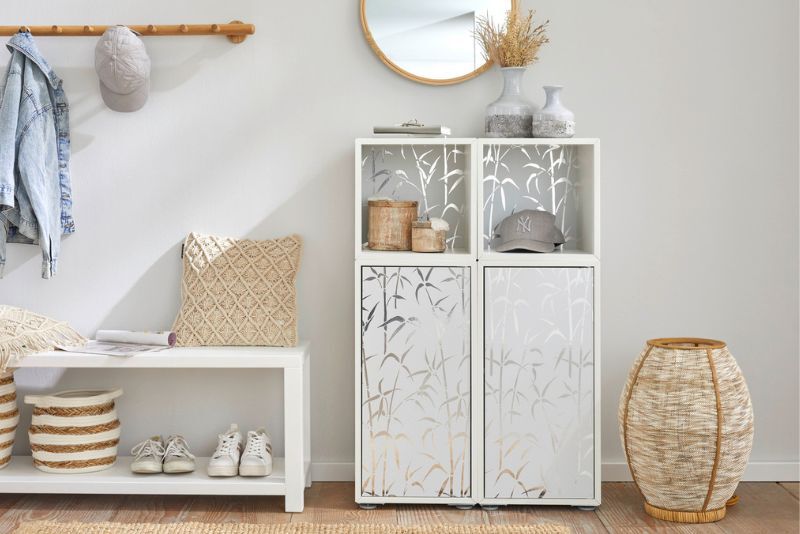
Out with the old, in with the new – this is something of a slogan for us at d-c-fix . Because we firmly believe that an individual interior design style doesn’t need to be expensive or difficult to achieve. Moreover, recycling existing furniture or decorative items is good for the environment and sends a positive signal in terms of sustainability. First and foremost, the upcycling of furniture with the help of our d-c-fix products such as our adhesive foils in wood and stone looks and other modern designs is a unique way to provide greater individuality in your four walls and create unique pieces that are not available anywhere else.
How about a DIY for your desk, for example? With the help of our d-c-fix adhesive foil in the Romeo matt white design, small scratches, pen marks and the like disappear in an instant behind a noble marble look. Your old table will instantly be turned into an eye-catcher that will fit in perfectly with modern interiors. In combination with materials such as velvet or other heavy fabrics and decoration in metallic tones, the high-quality look is further enhanced.
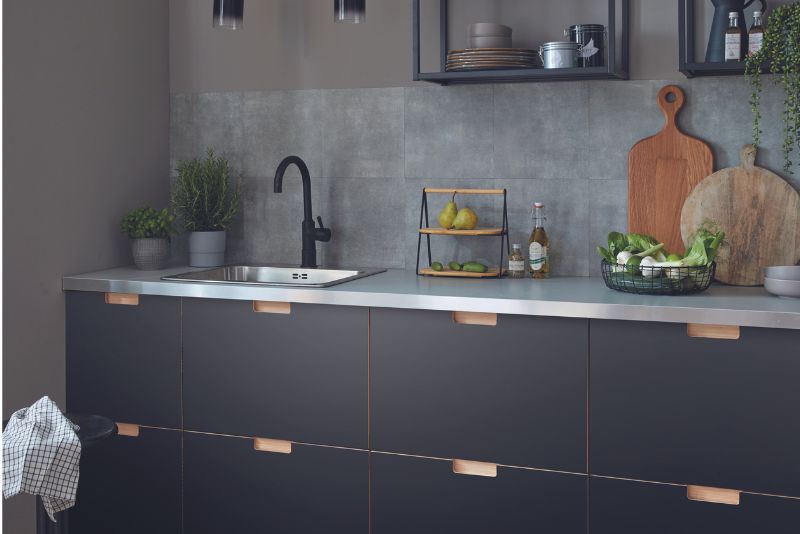
But the d-c-fix range doesn’t only include stone looks or designs with vintage touches, wood looks are also very popular. With our self-adhesive wall tiles or Ceramics 3D wall coverings you can, for example, easily renew the tile backsplash in your kitchen – and without the effort and dirt that comes with laying real tiles. And if you get tired of that tile mirror after a few years: no problem. Our products are easy to remove again. This is especially important if, for example, you live in a rented house and are unable to easily carry out major renovations in the kitchen or bathroom. The same also applies to floors. You don’t like the tiles the previous tenant laid in the guest bathroom? Then simply let them disappear underneath our floor tiles. Here again, you can choose from a wide range of designs.
You can also set special accents on your windows. Here, the d-c-fix glass foils are just the right choice. No matter if you want to create a privacy screen to ward off your neighbors’ prying glances or if you want to visually enhance your window surfaces according to the seasons. With d-c-fix , you’re guaranteed to find the right product for your home DIY.
DIYs explained simply with our step-by-step instructions
Got some furniture that could use some upcycling? Then get inspired by our DIY ideas and simply follow our step-by-step tutorials. On our website we have bundled an infinite number of ideas on how you can quickly and easily style up your windows, the tiles in the bathroom and kitchen and even your flooring. You can easily do a lot of things yourself. And with our help, virtually nothing can go wrong – that’s a promise!
To obtain an overview of what’s possible, just click through our blog and collect ideas. Here, you will find numerous instructions on how to upcycle furniture using our adhesive foils, as well as tutorials on how to intelligently use certain materials and fabrics for your DIY projects with the help of recycling – so you work more sustainably and nothing ends up in the trash. Be a role model!
Once you’ve taken a good look at the overview page and decided on one of the many DIYs, click on the corresponding upcycling tutorial article. You will then be guided step-by-step through the project. You will be shown which materials, products and tools you should have on hand to give free rein to your creative streak in crafting. To give you even more confidence that you’ve understood everything correctly, our makeovers always include numerous pictures that show you exactly how to proceed. As I’ve said, hardly anything can go wrong!
Finished DIY projects with d-c-fix – Show us your work!
The old kitchen cabinet has been transformed into an ultra-modern it-piece with the help of our d-c-fix products? We want to see it! Show us your unique piece of furniture and how it has been transformed with upcycling. Take a photo of your work and share it with us through our social channels. We are active on Facebook, Instagram, Pinterest & YouTube. So that we also get your great ideas and creations shown, mention us in your post and use the hashtag #dcfix, so that we can find you and your works.
Out with the old, in with the new, upcycling, recycling and sustainable, creative DIYs – we hope you like our blog, our DIY ideas and tutorials. If you have any questions, comments or suggestions for improvement, just write to us. We welcome any feedback!


